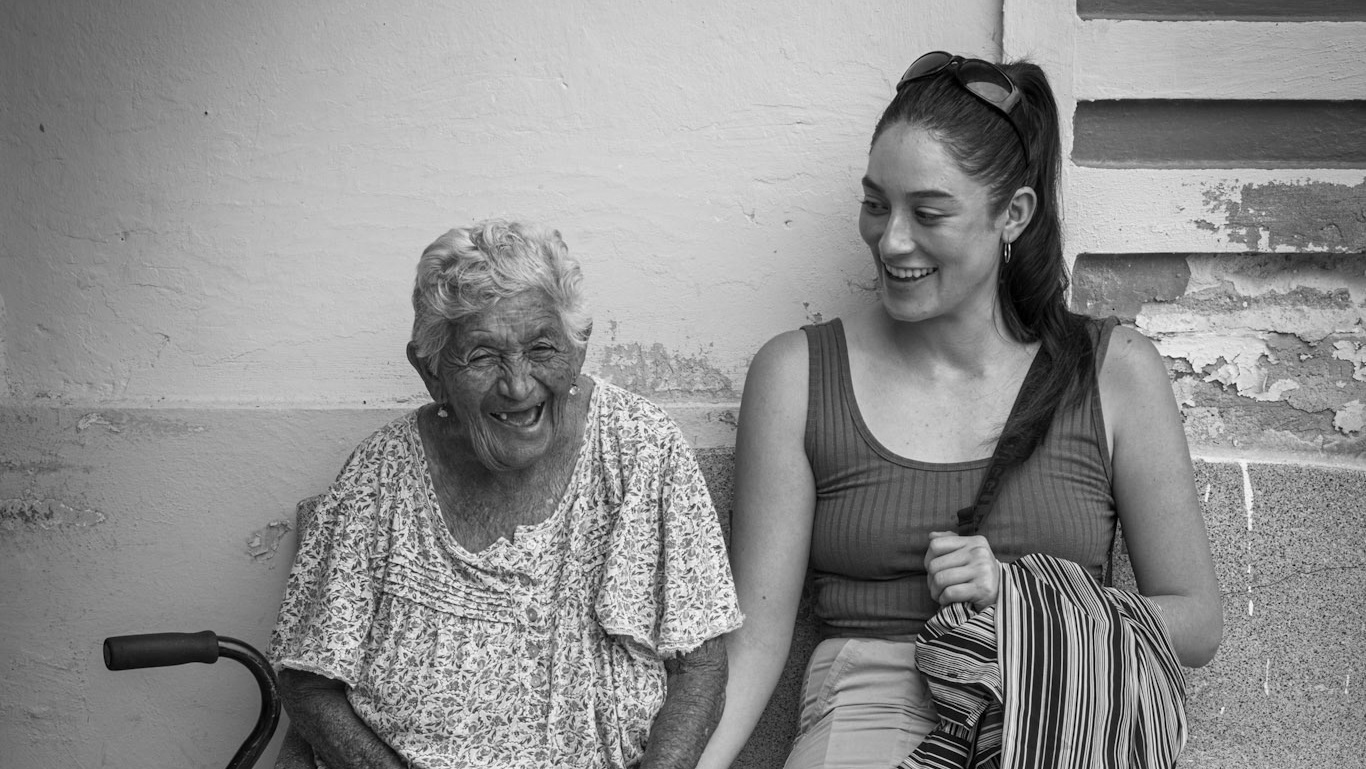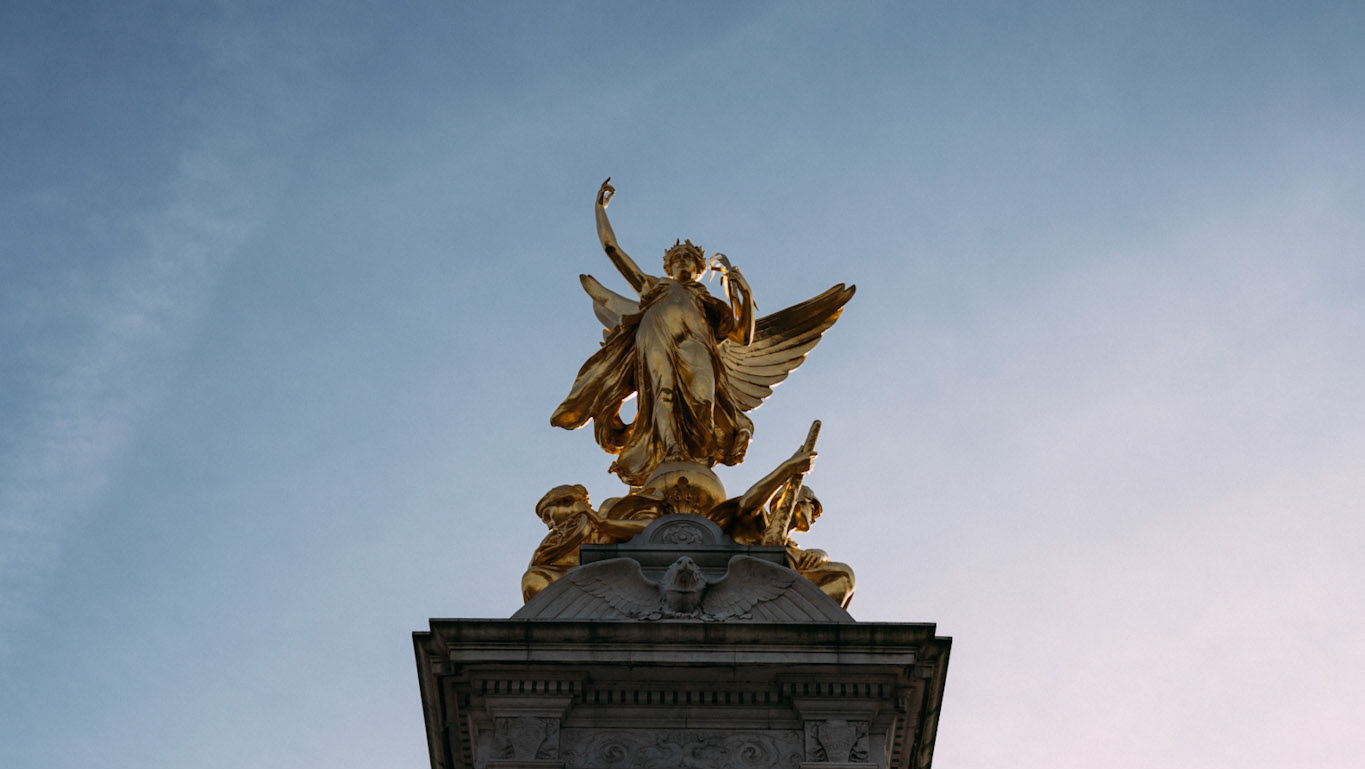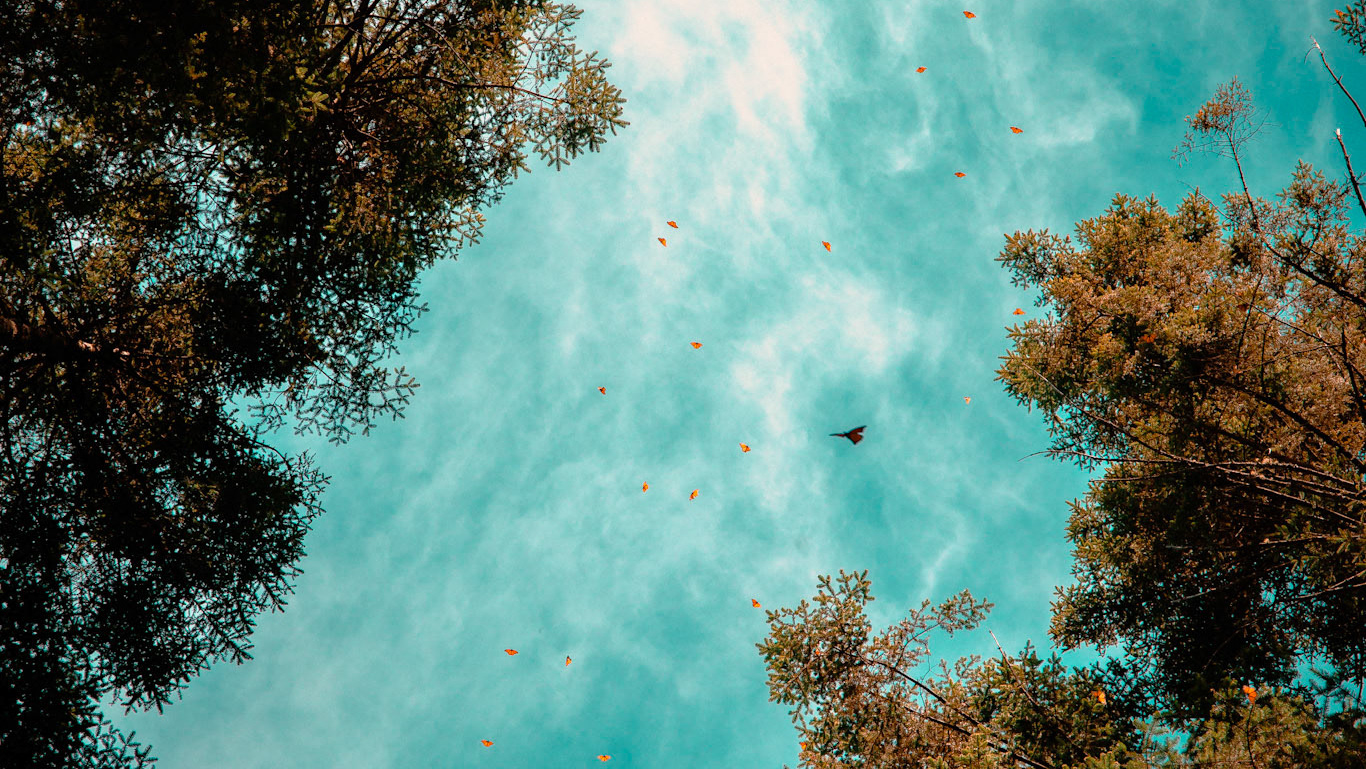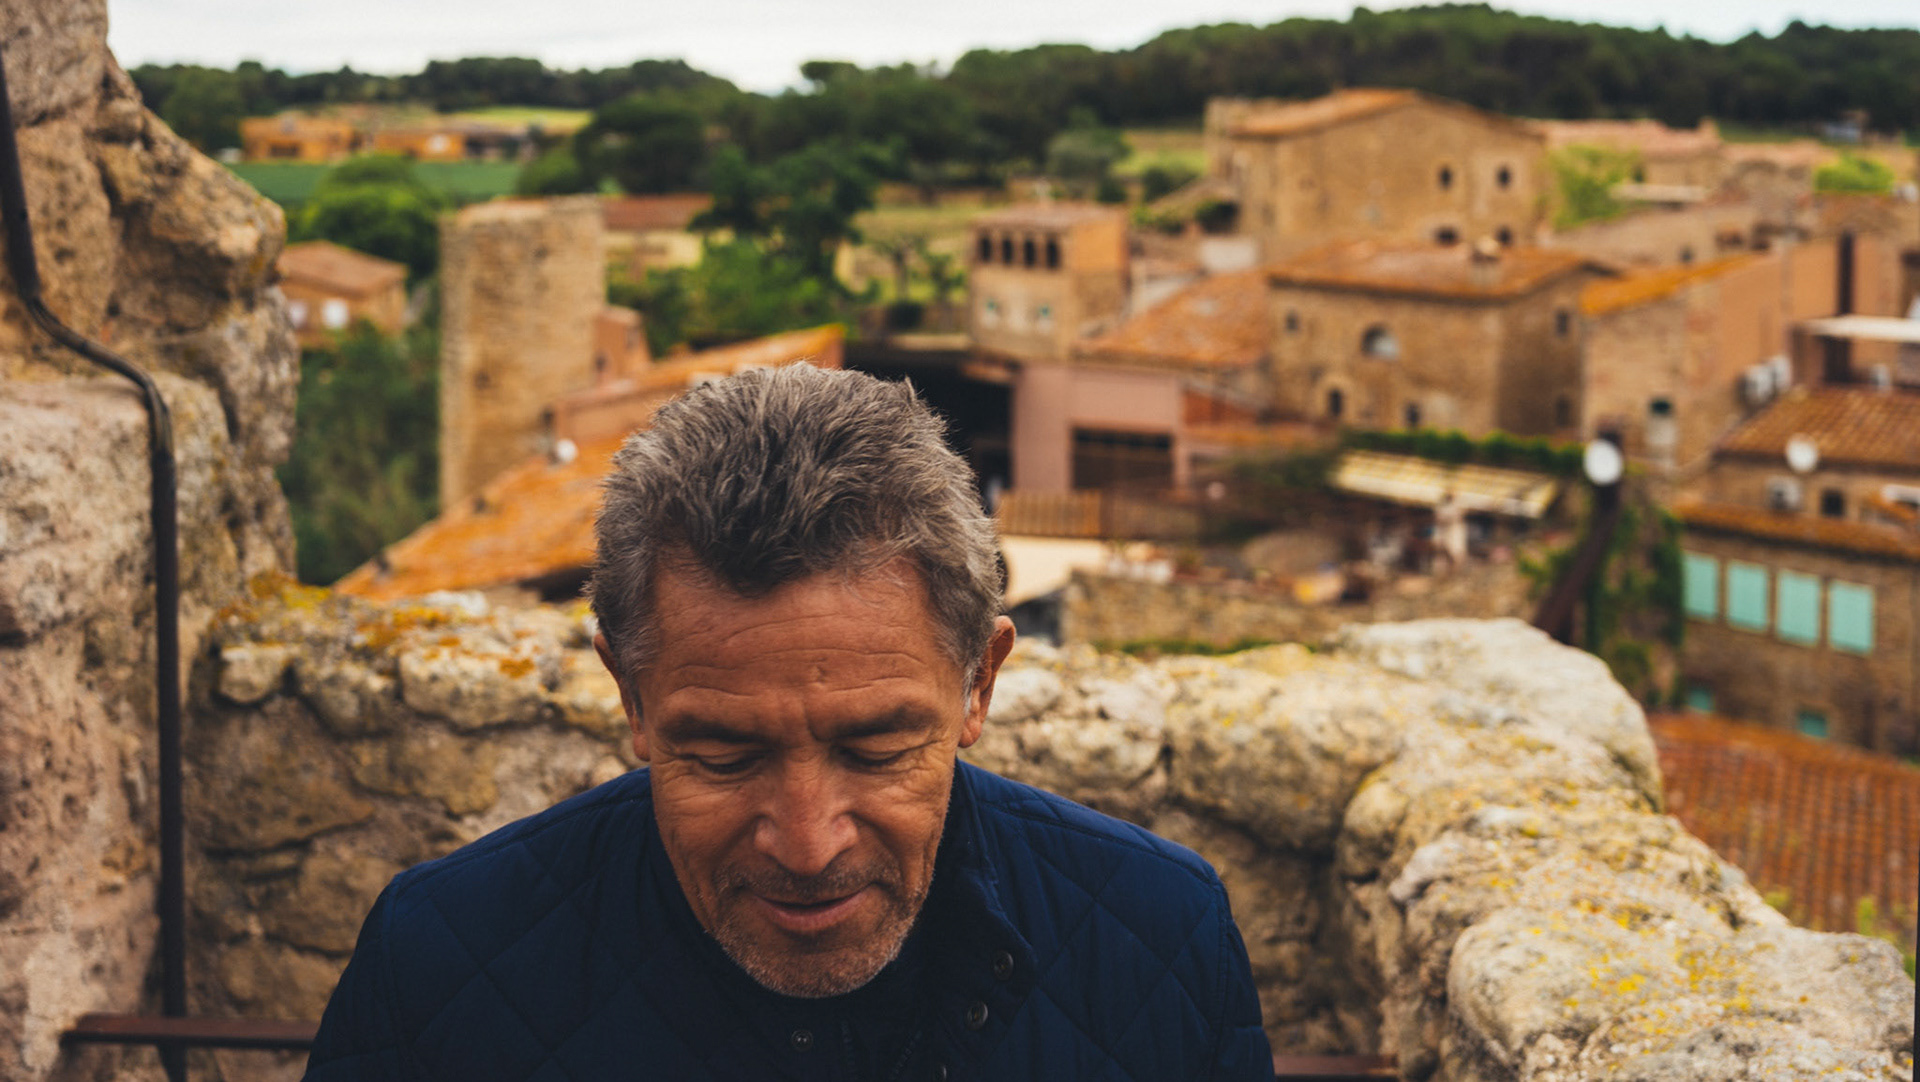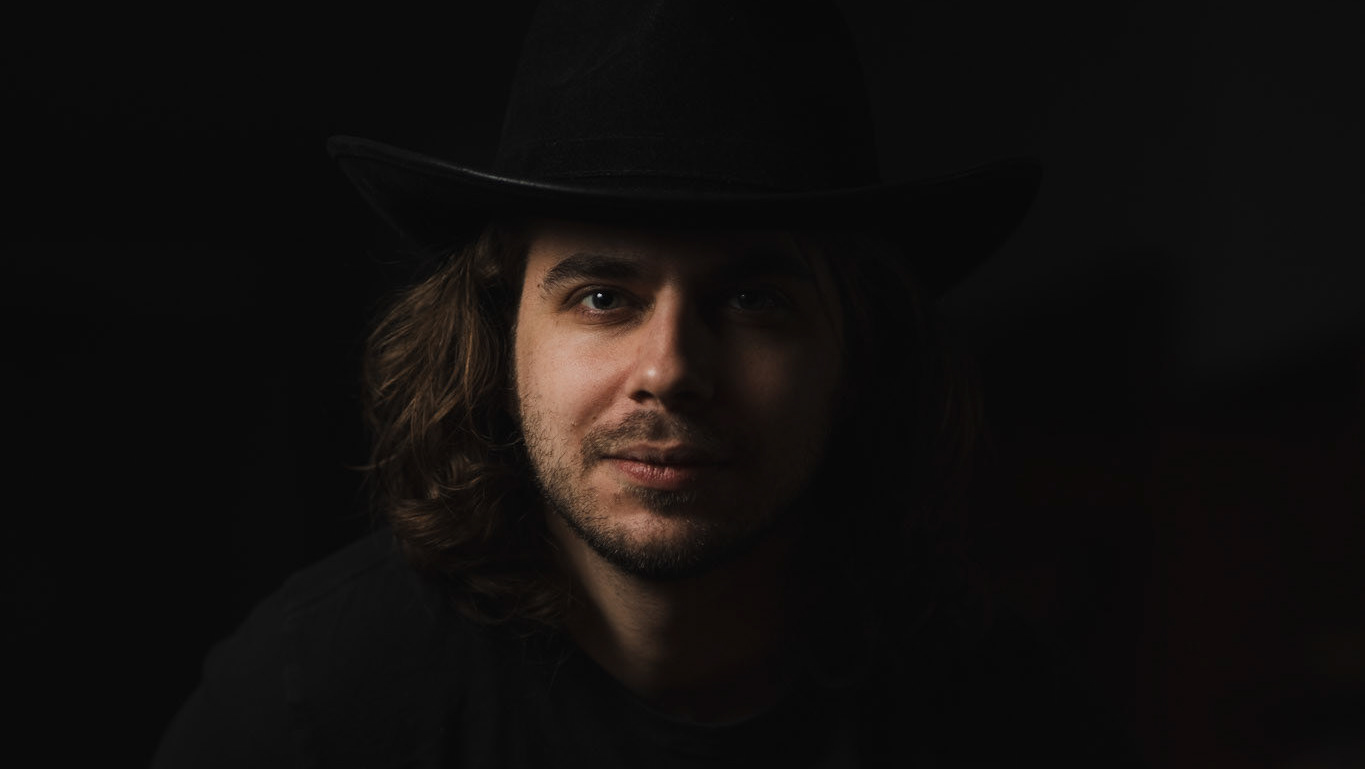
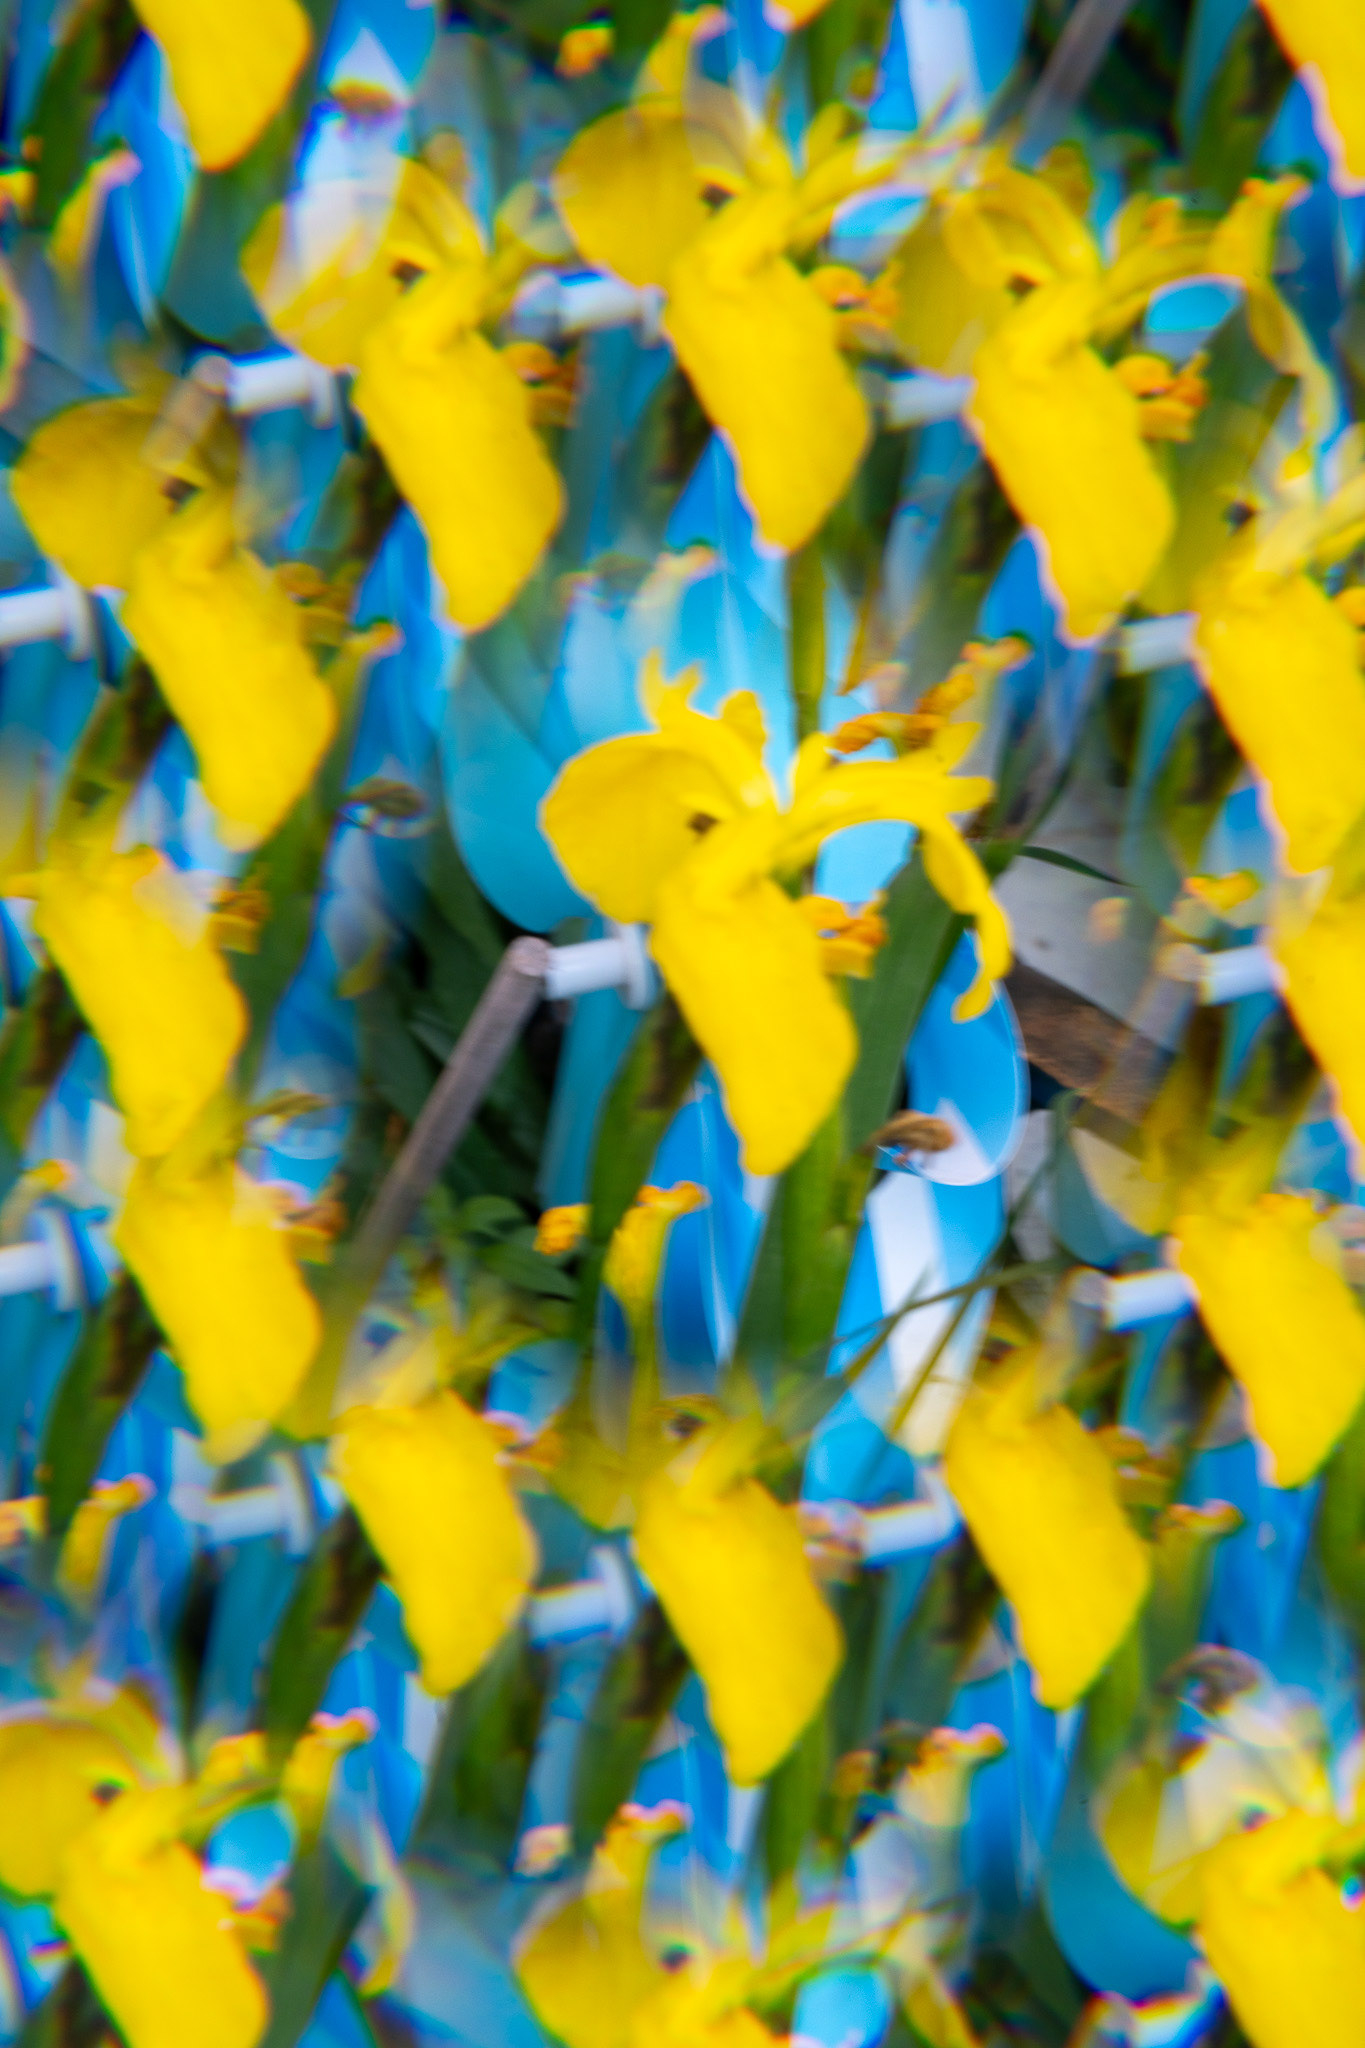
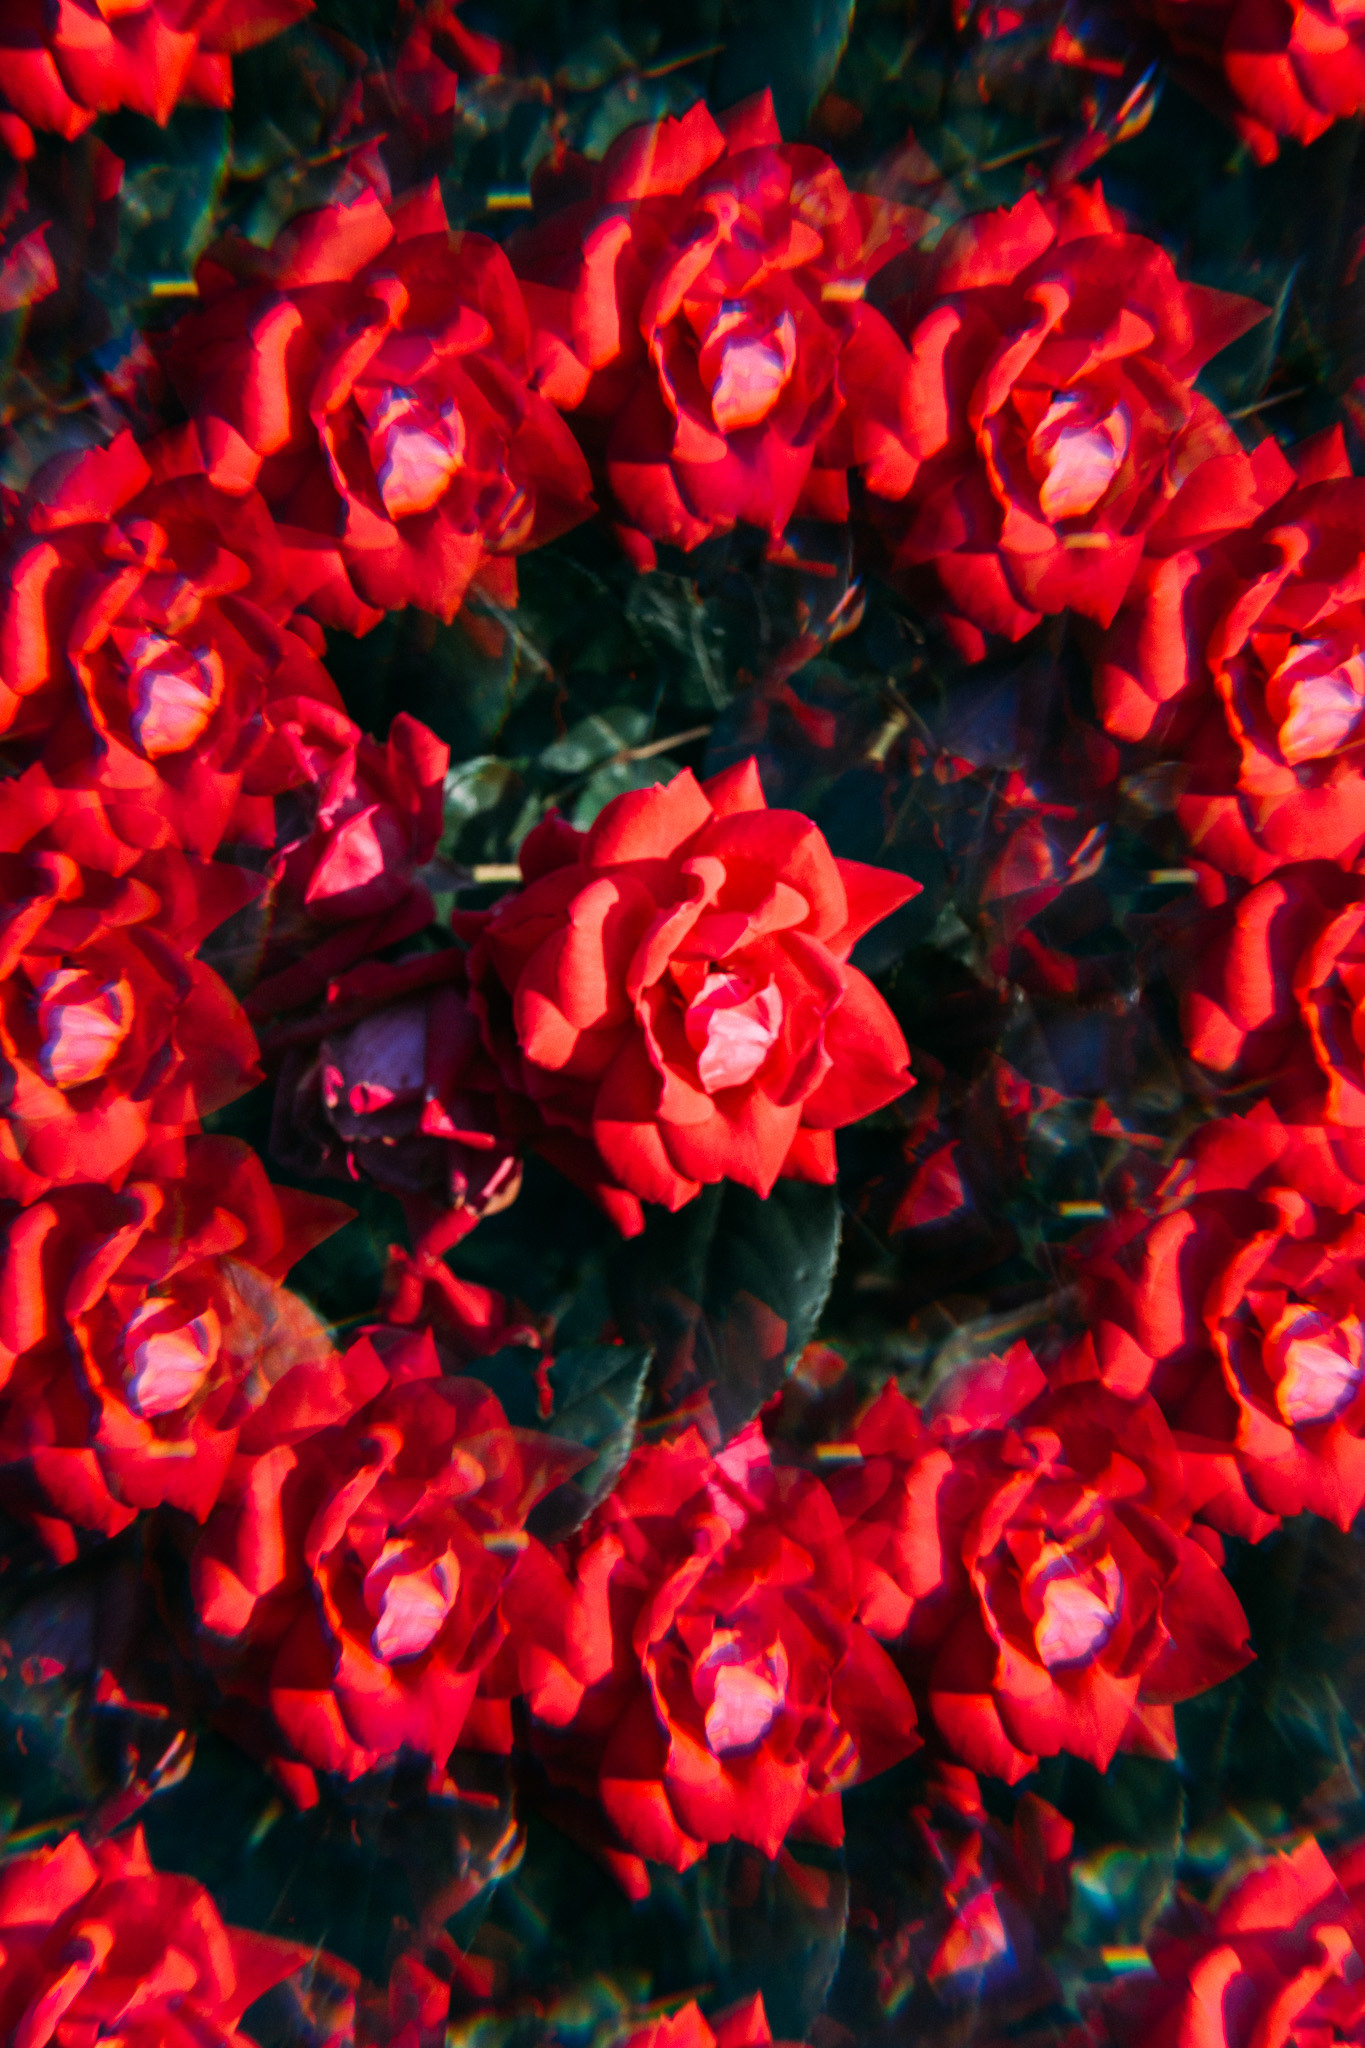
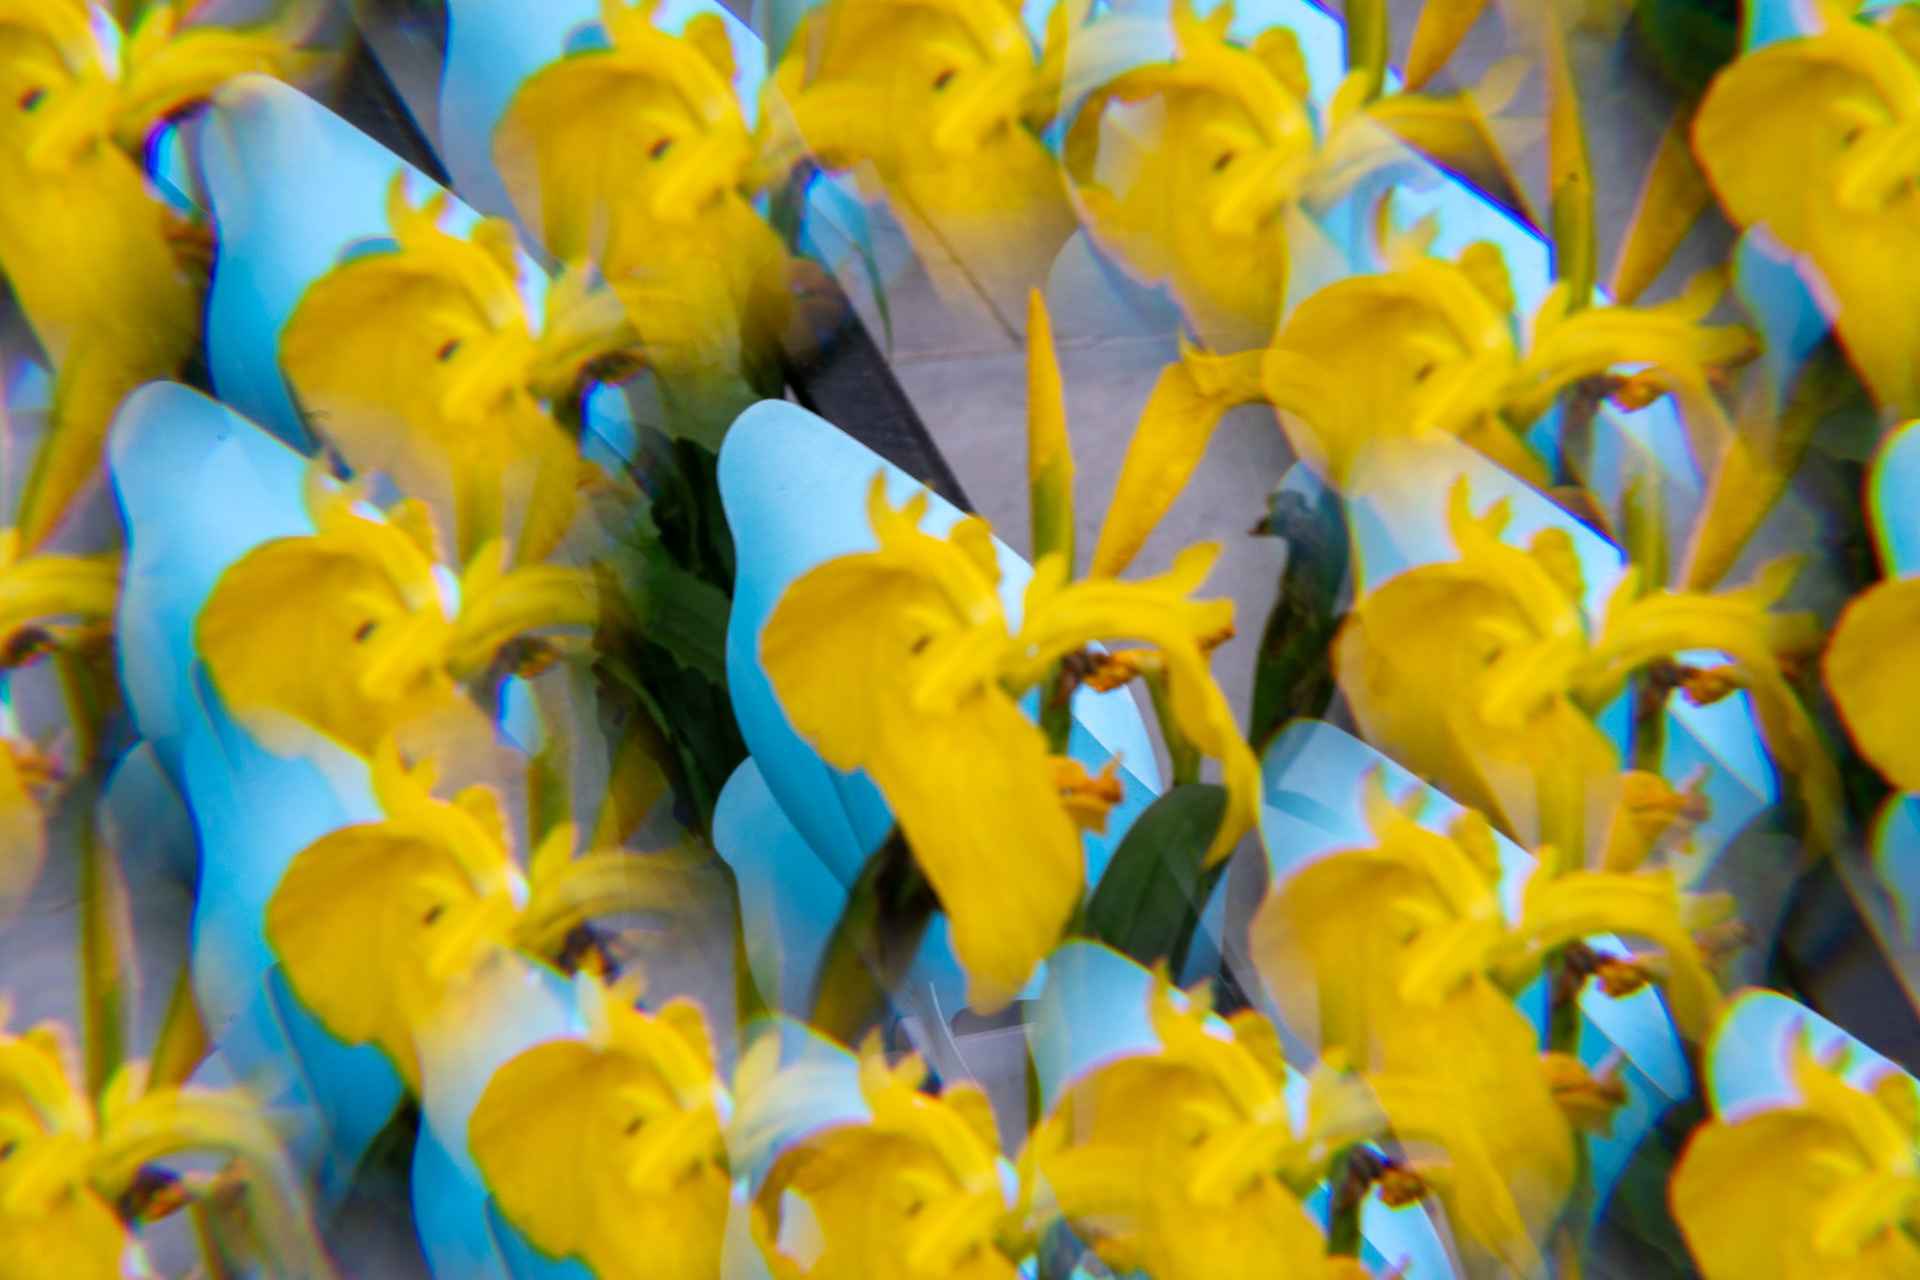
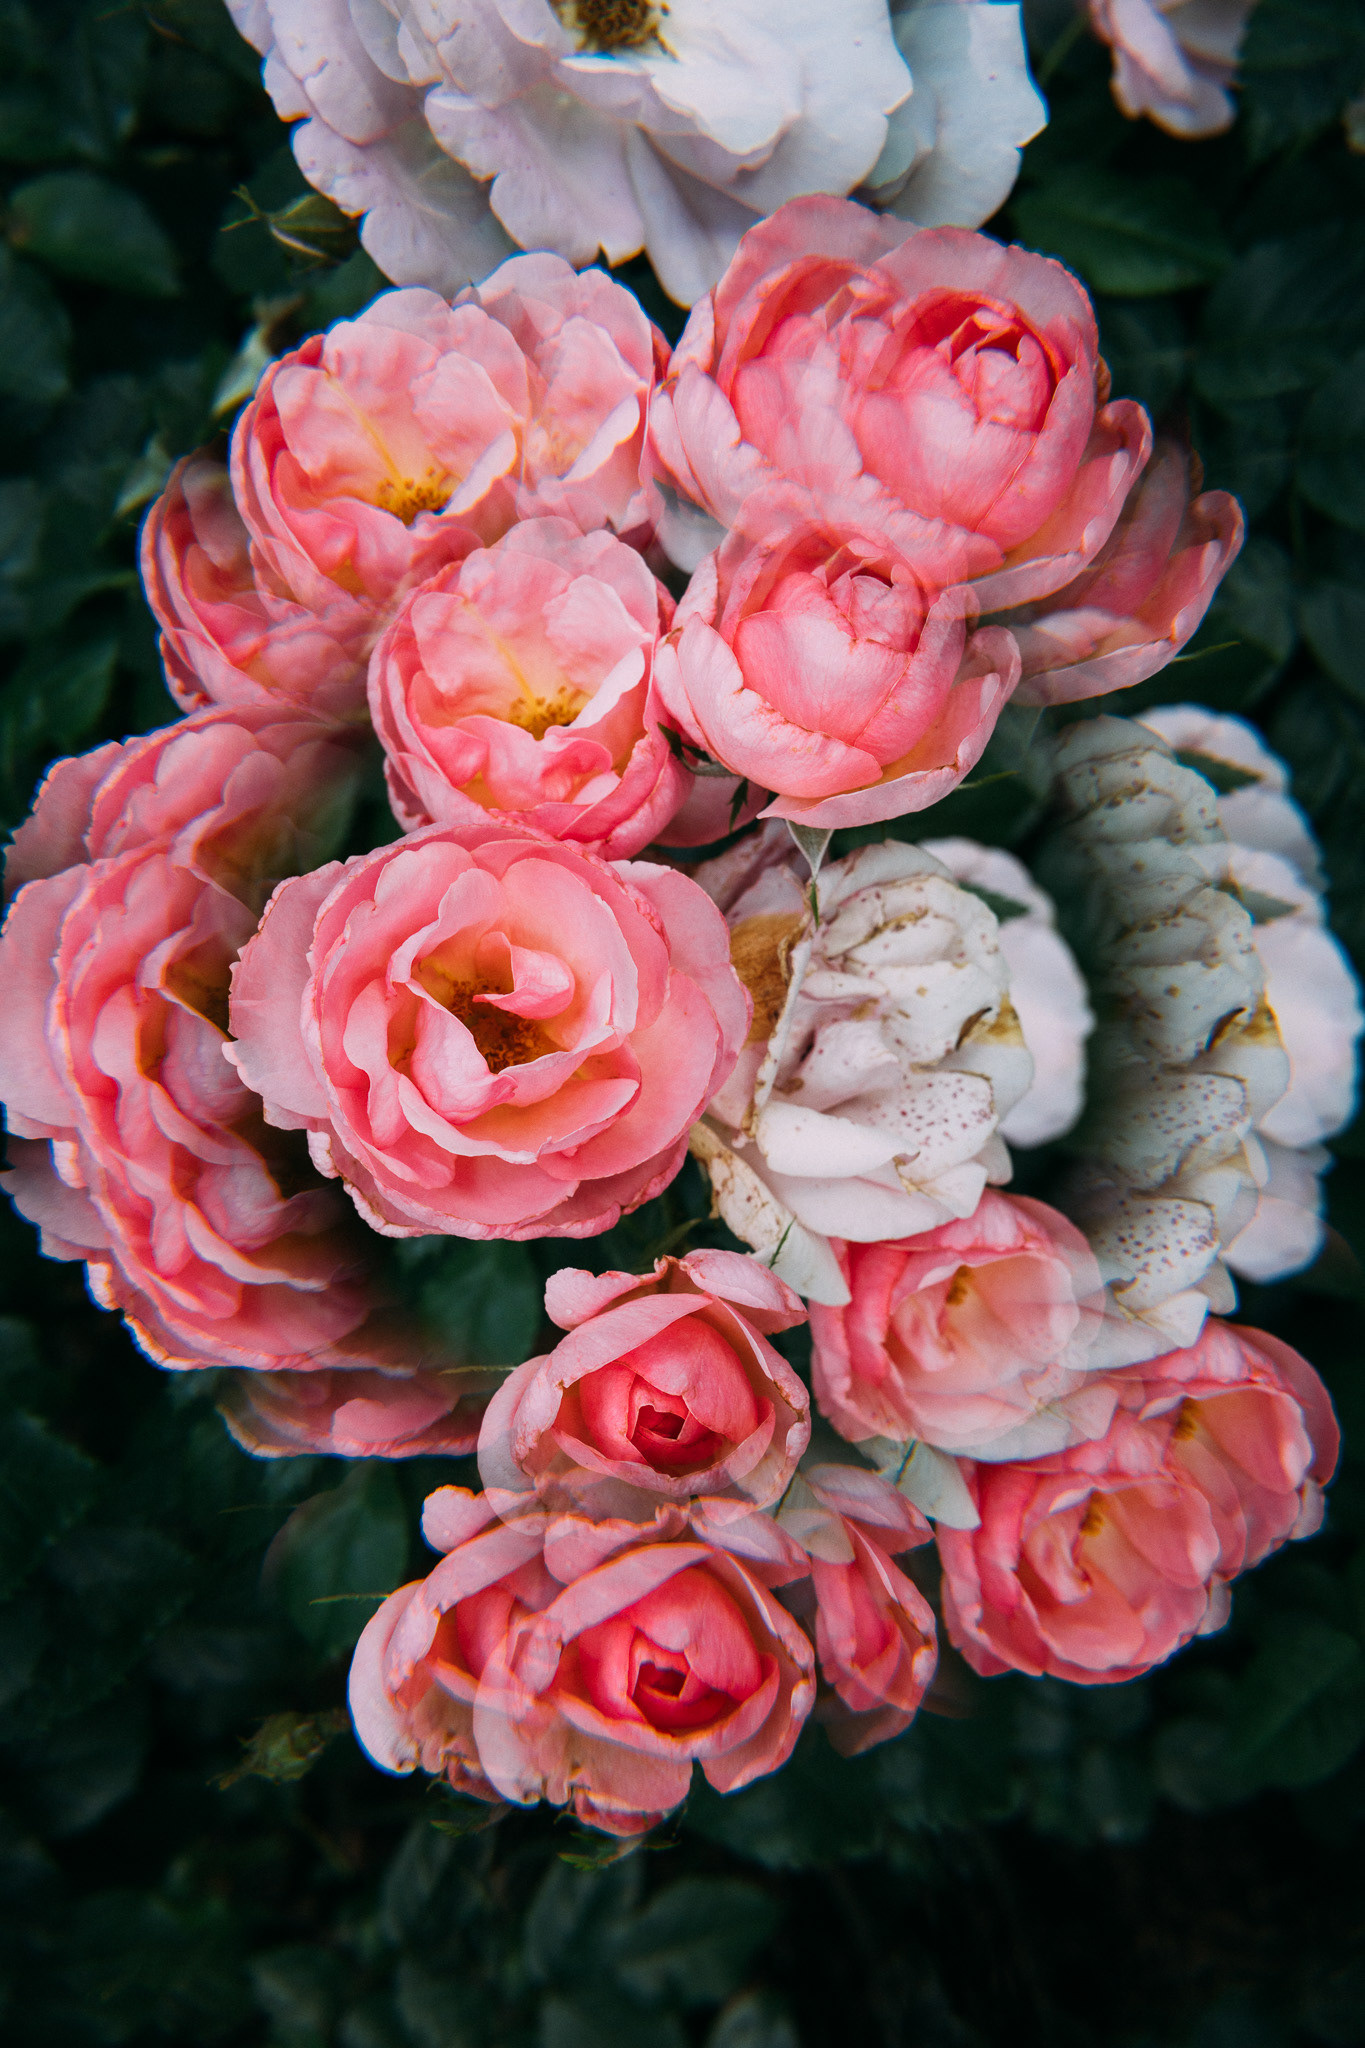
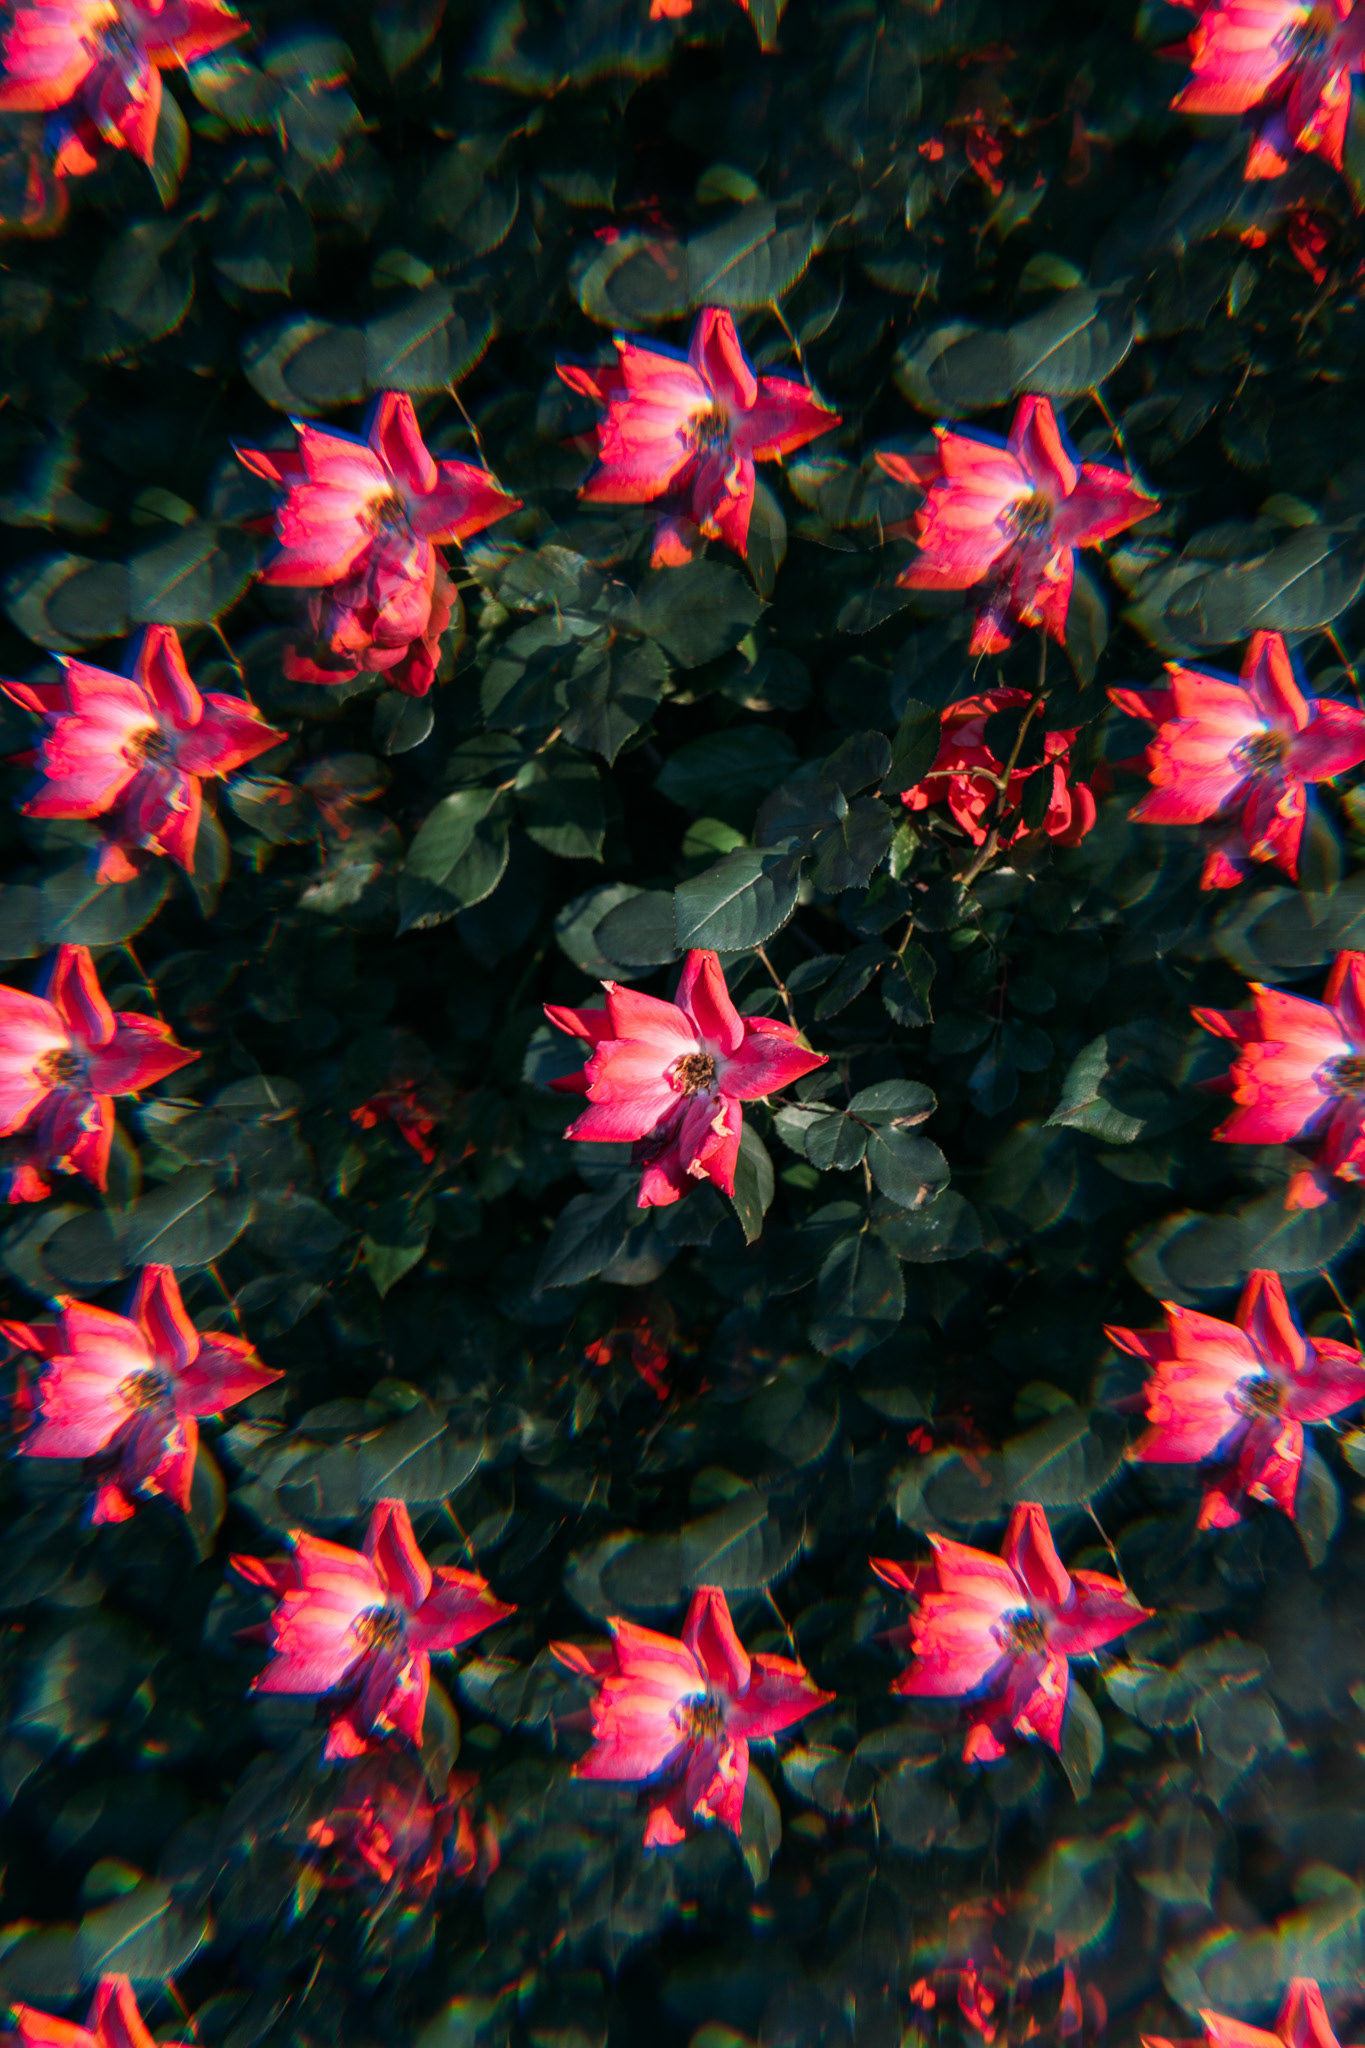
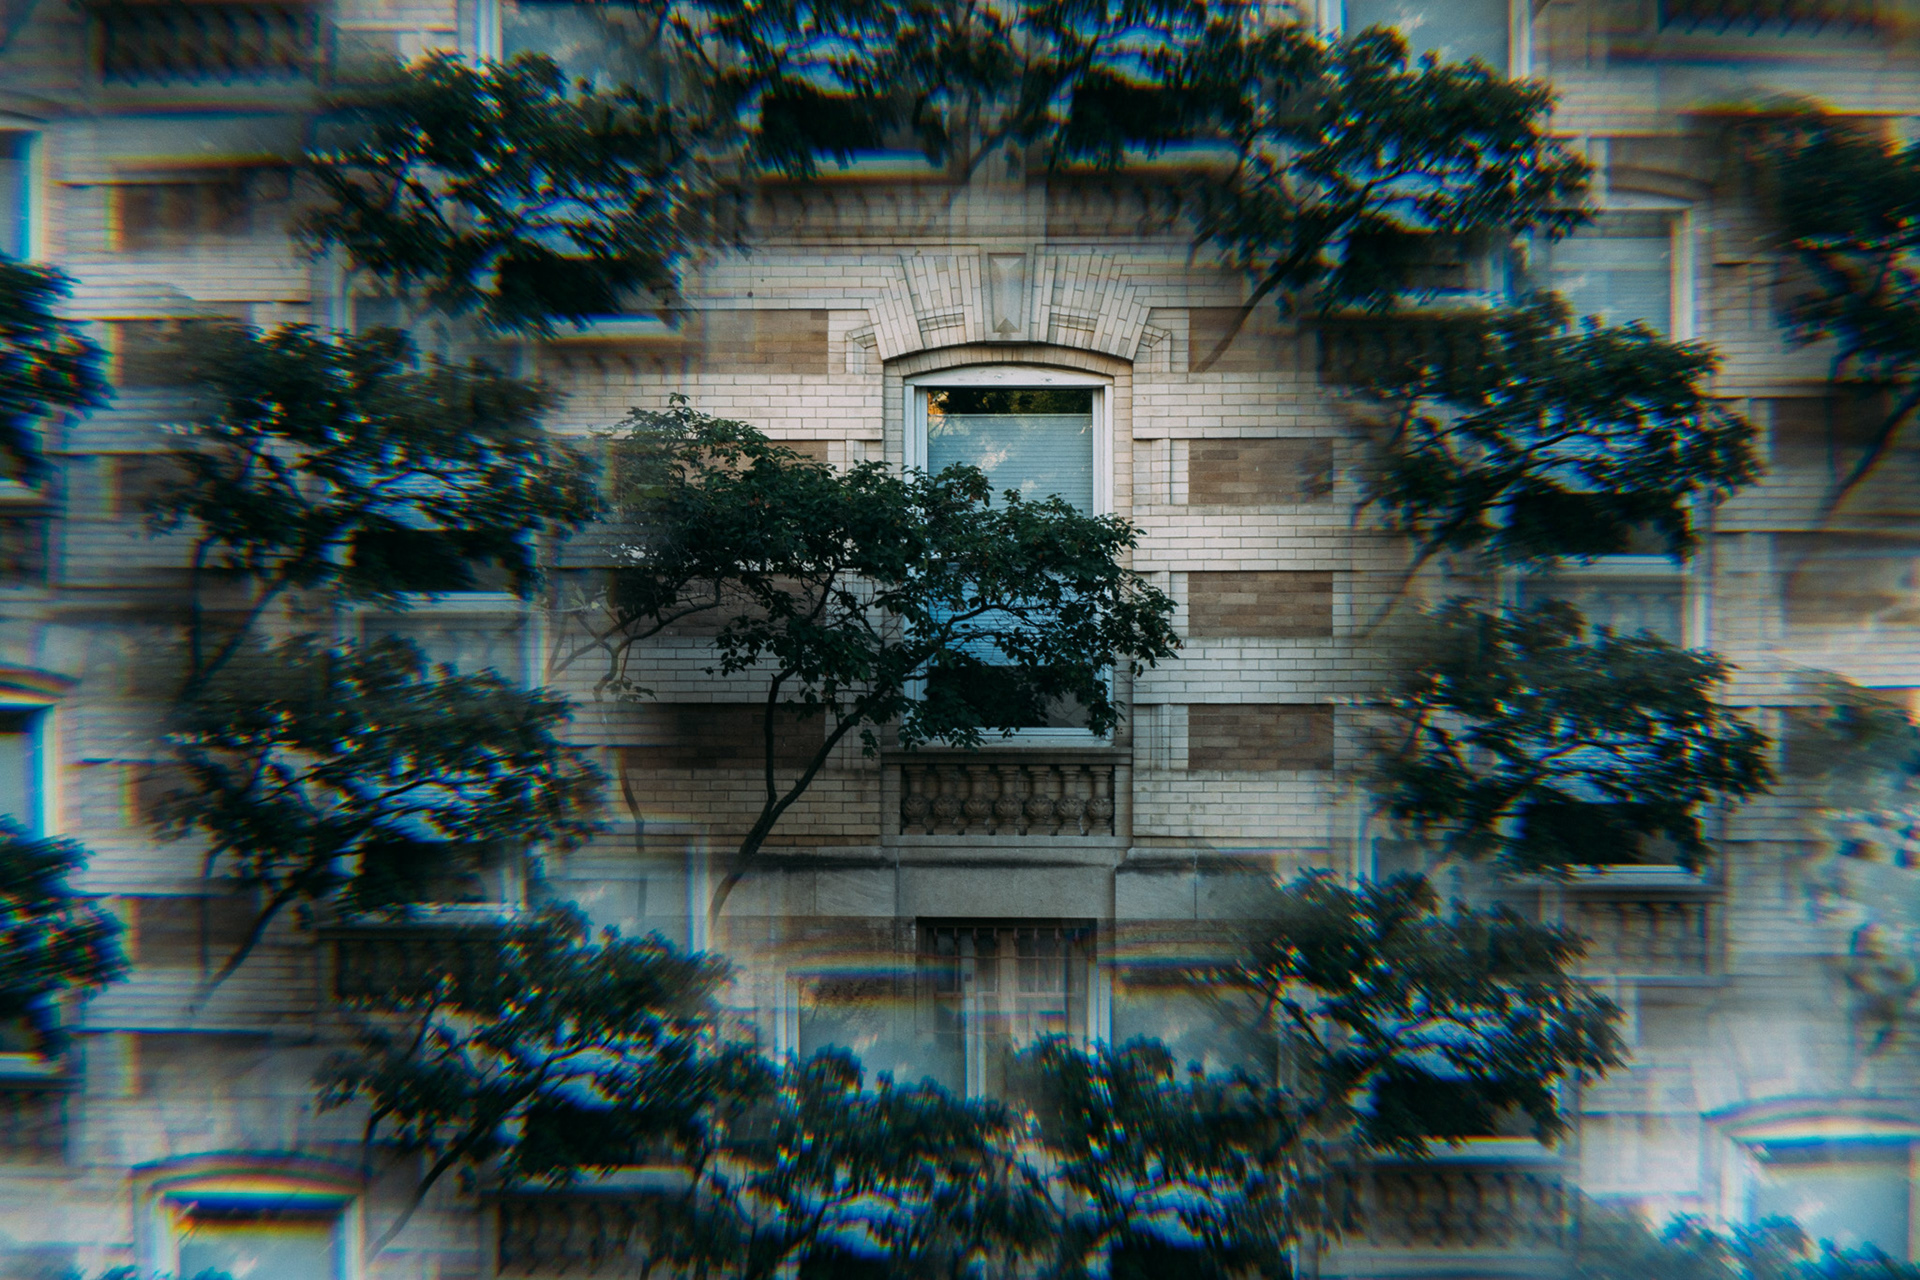
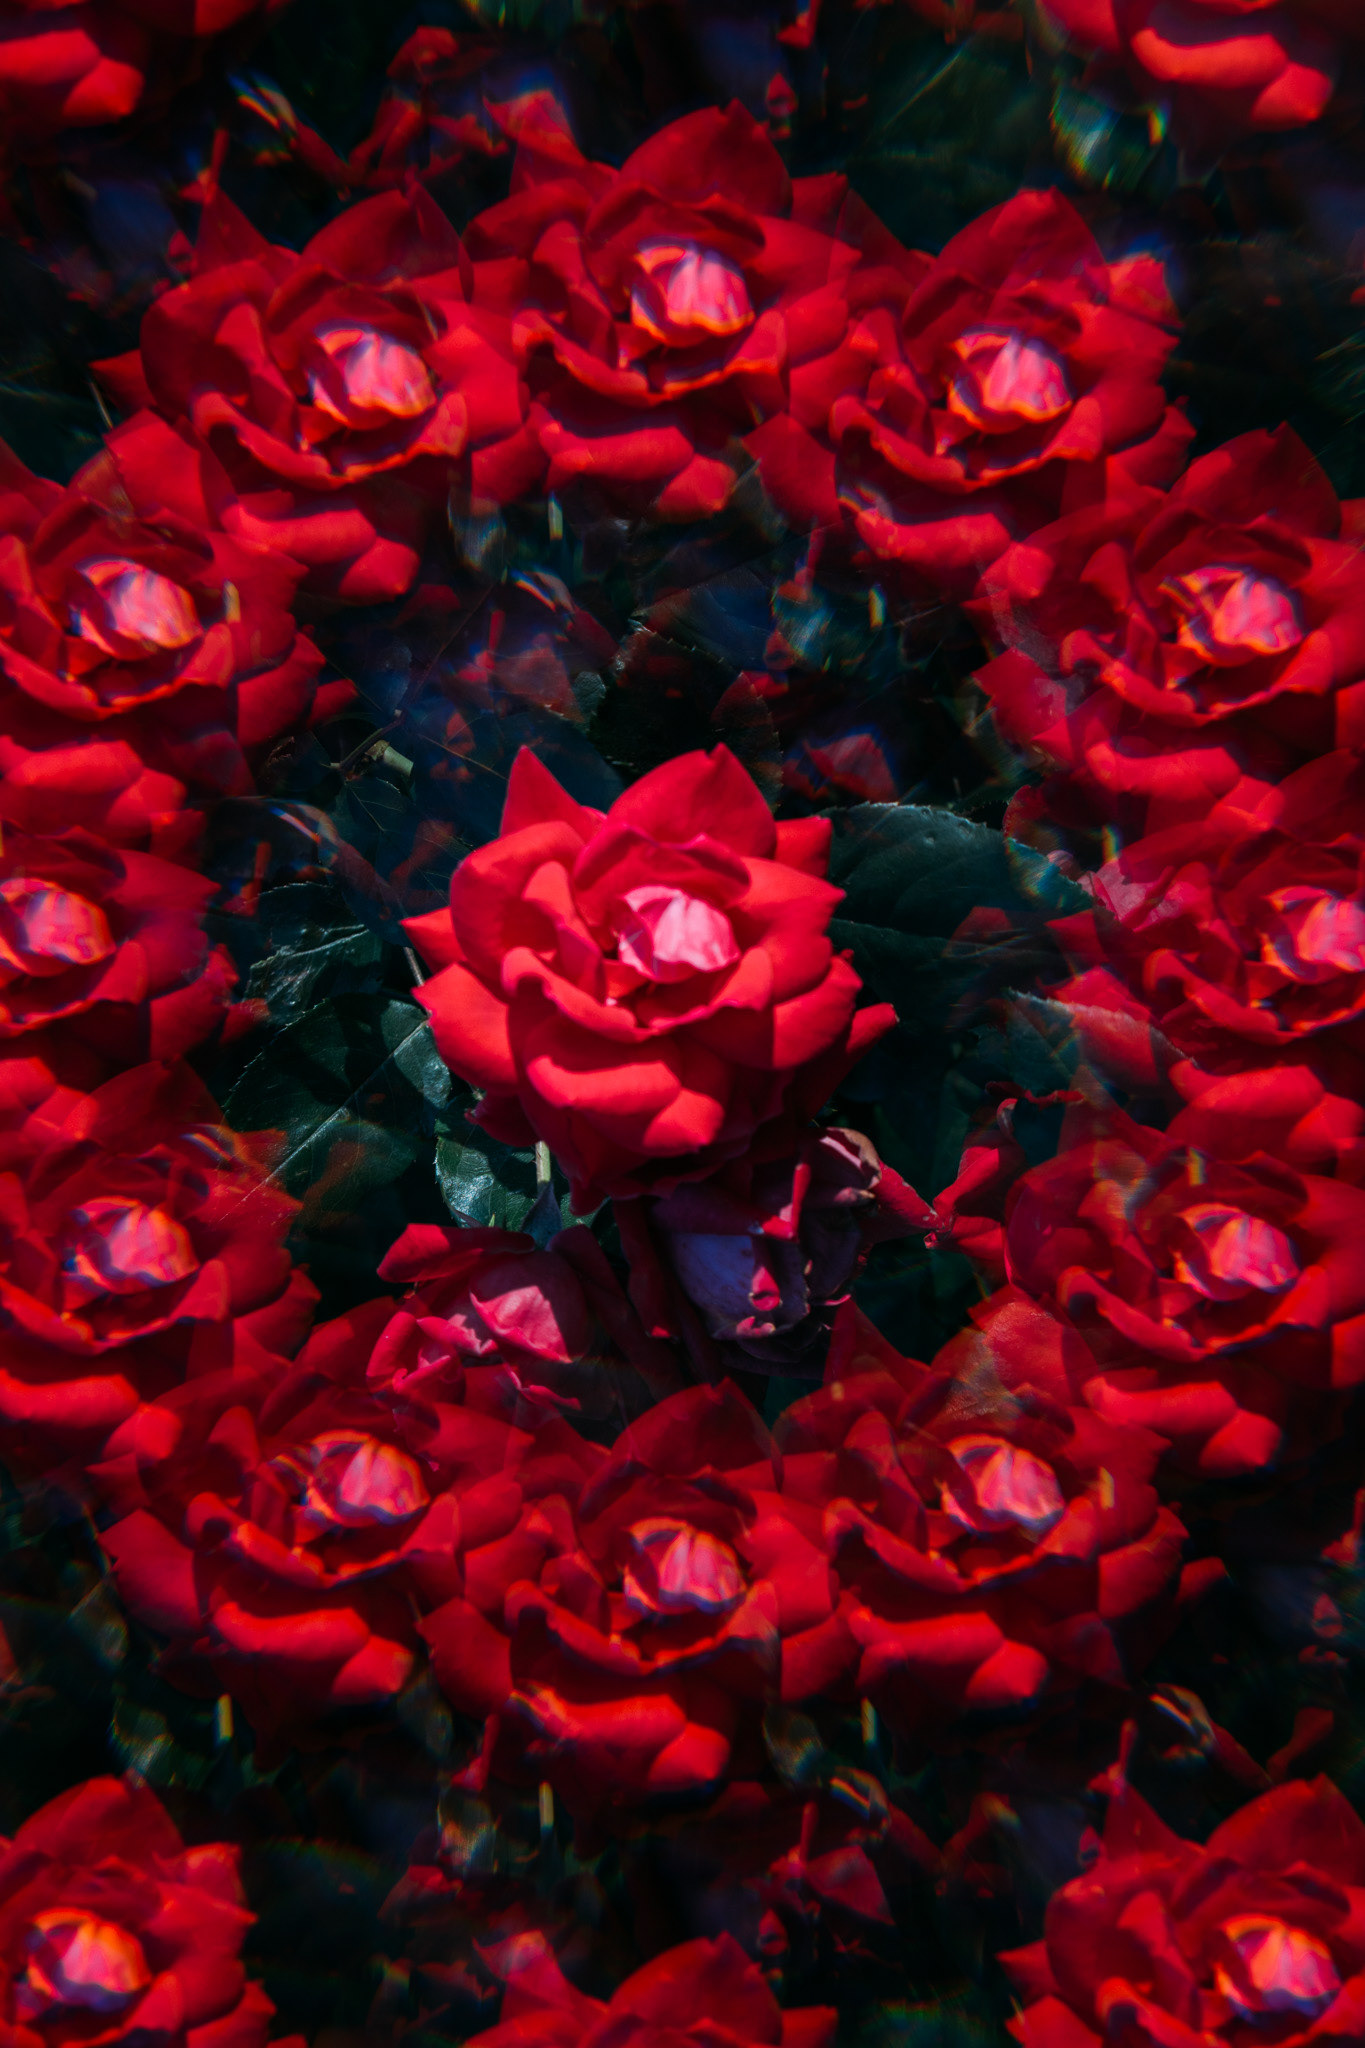
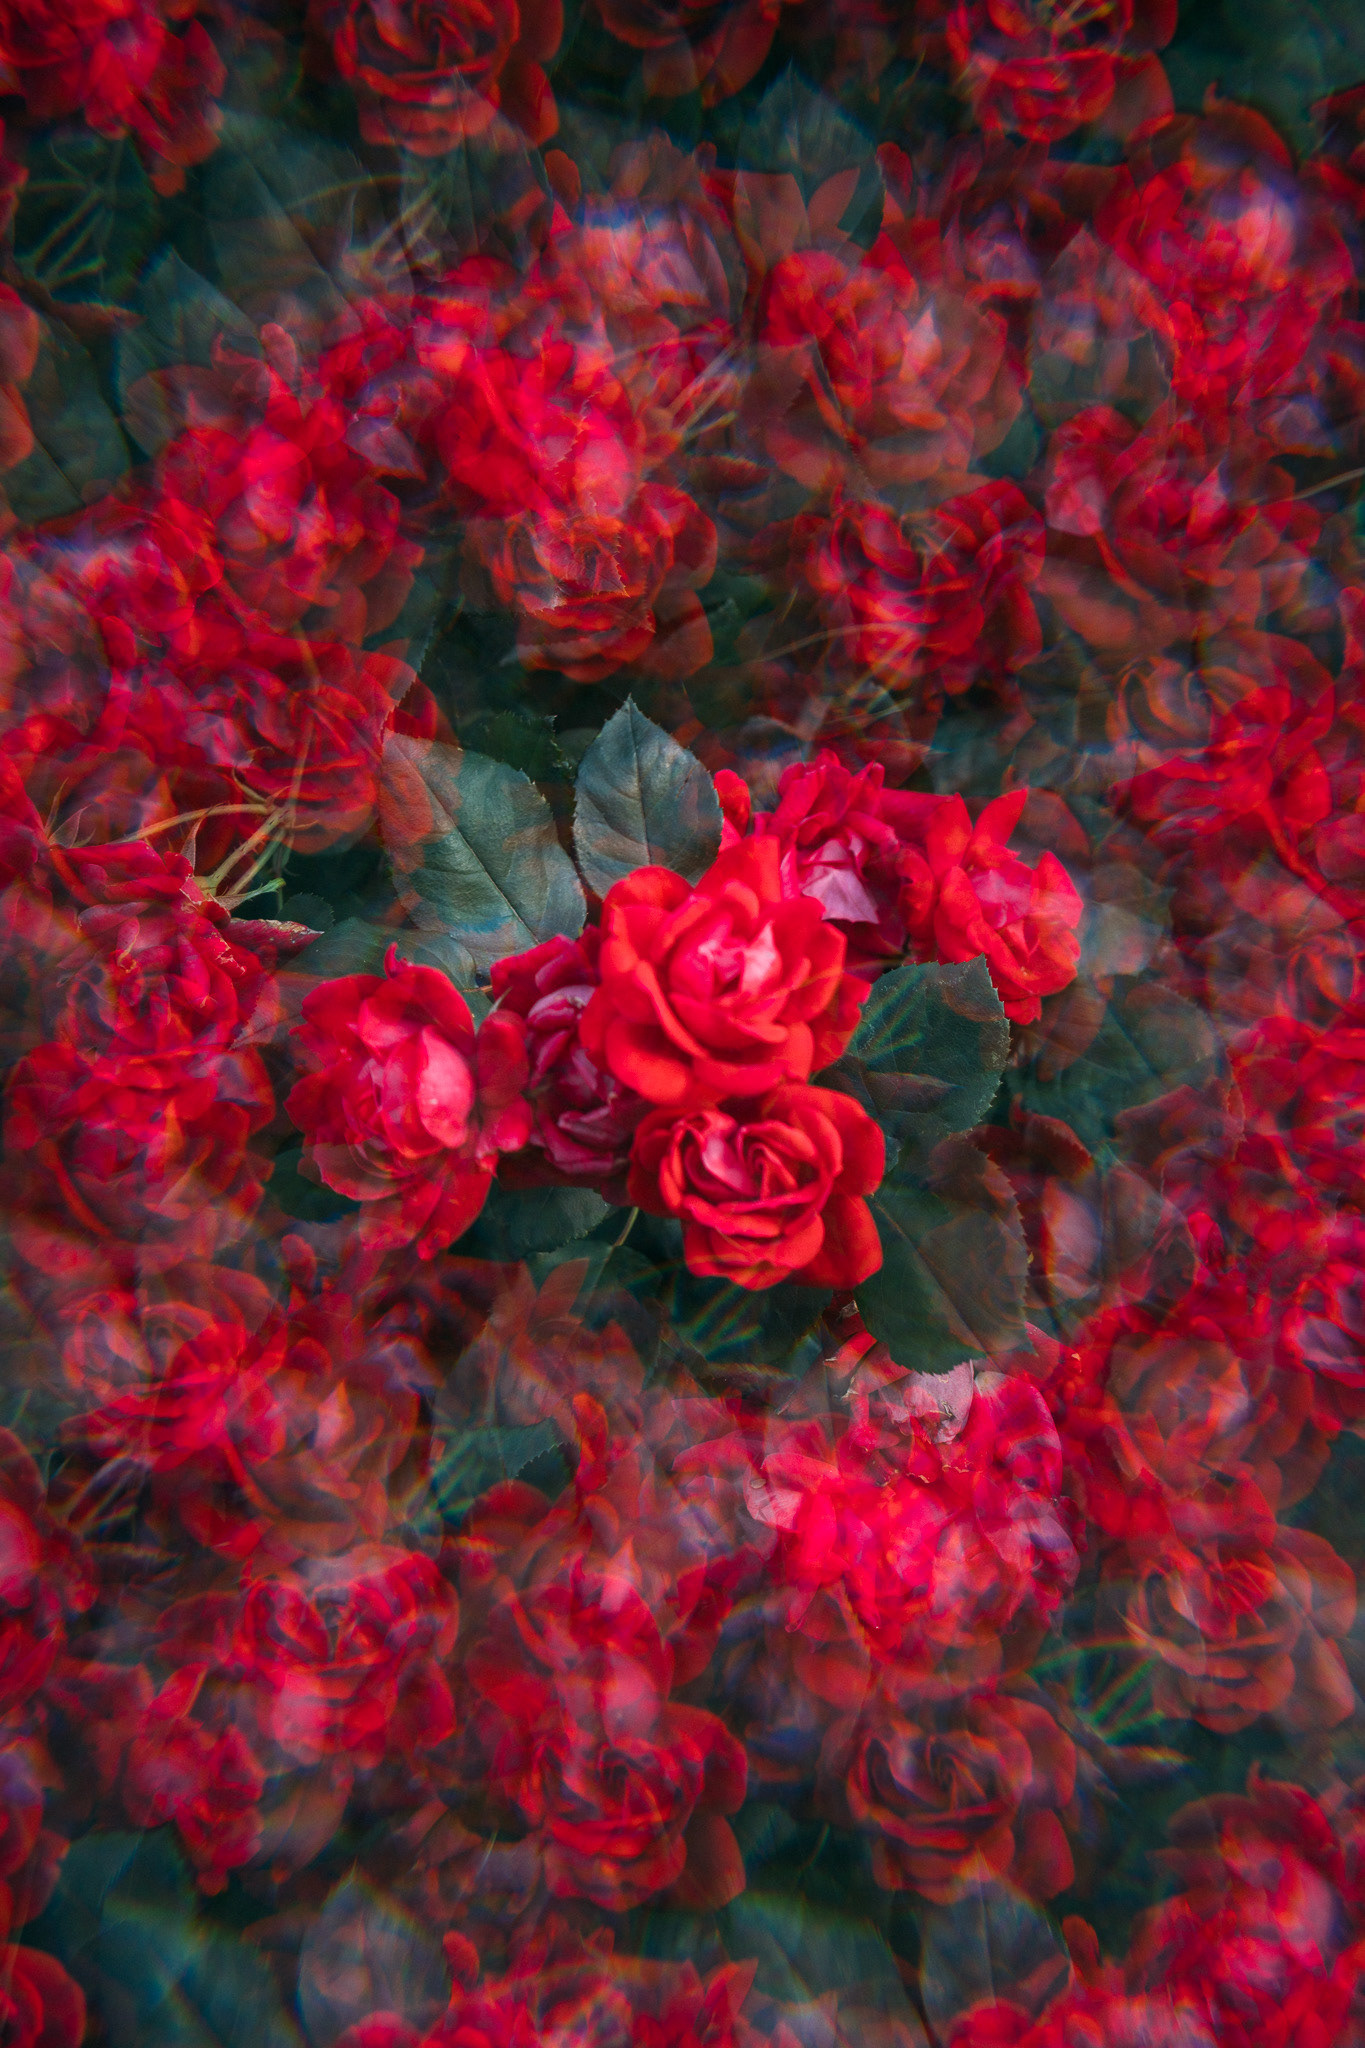
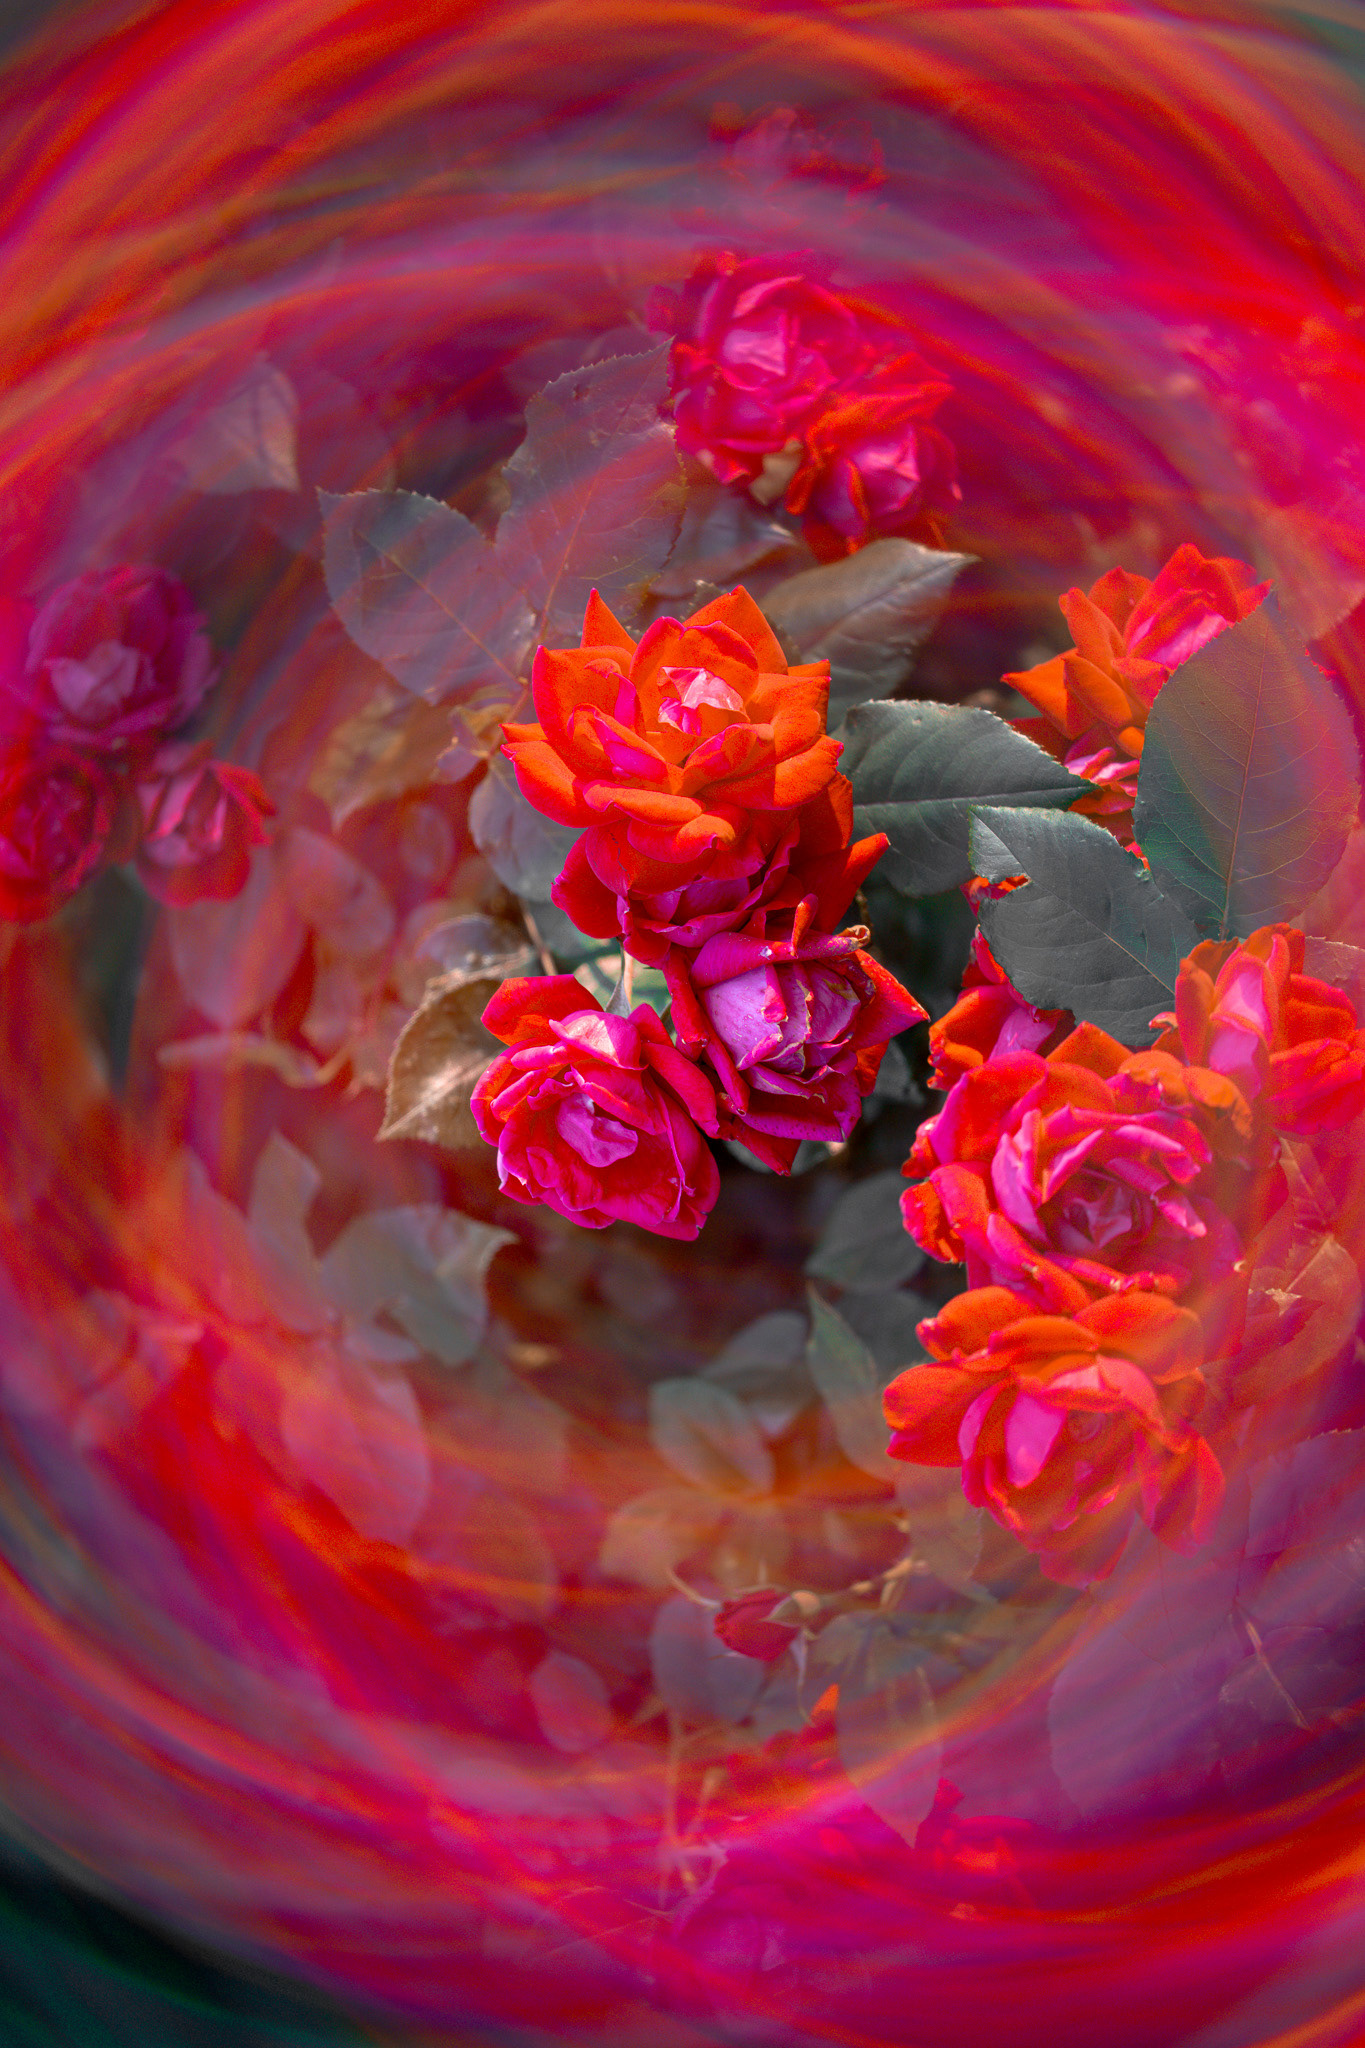
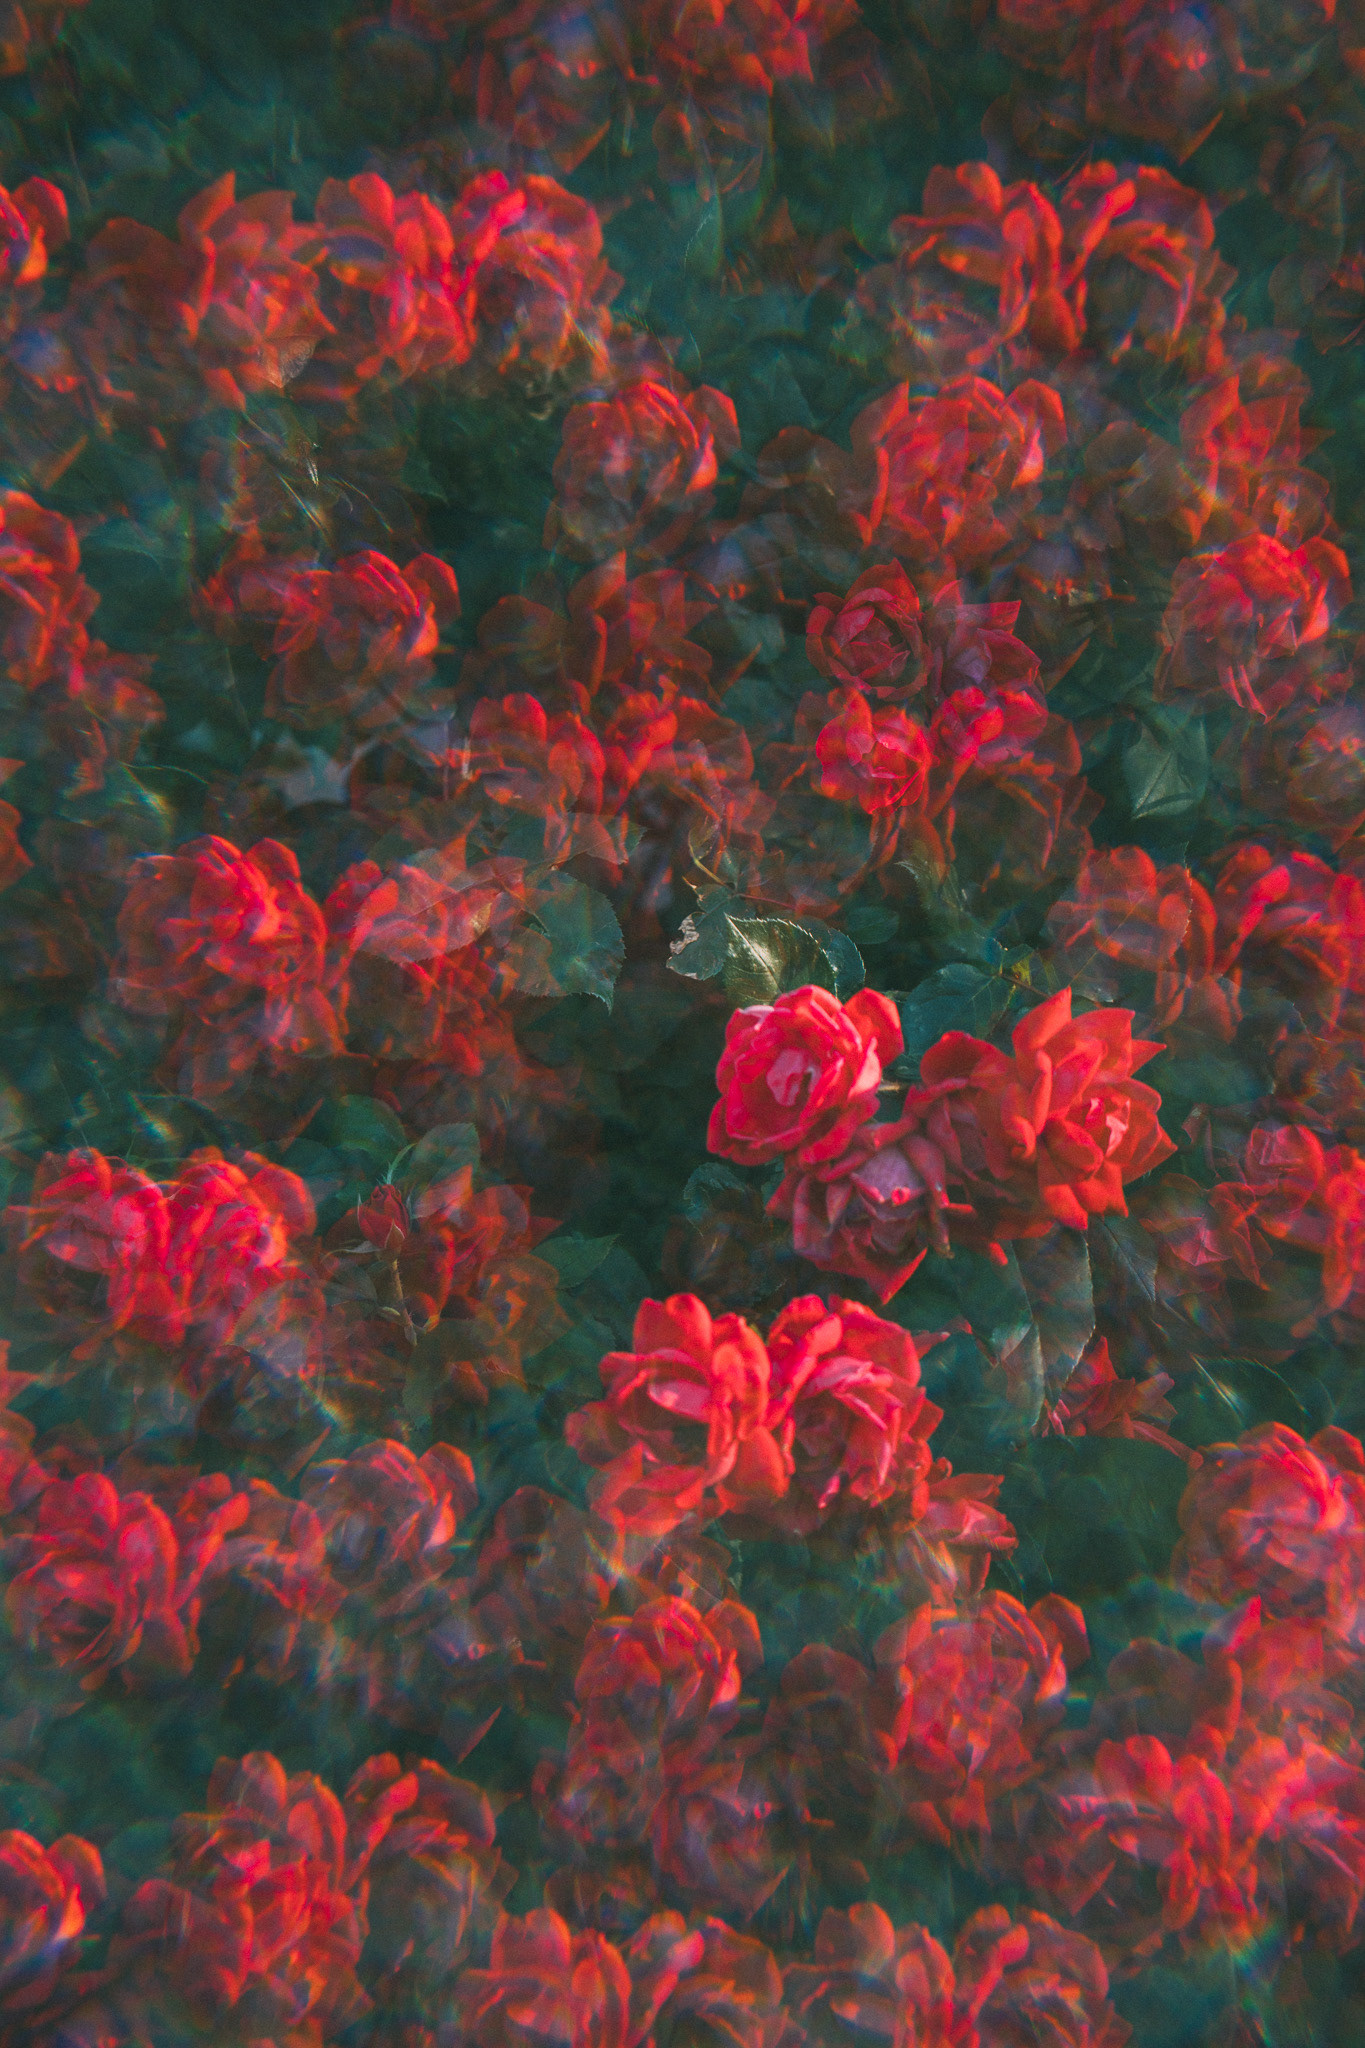
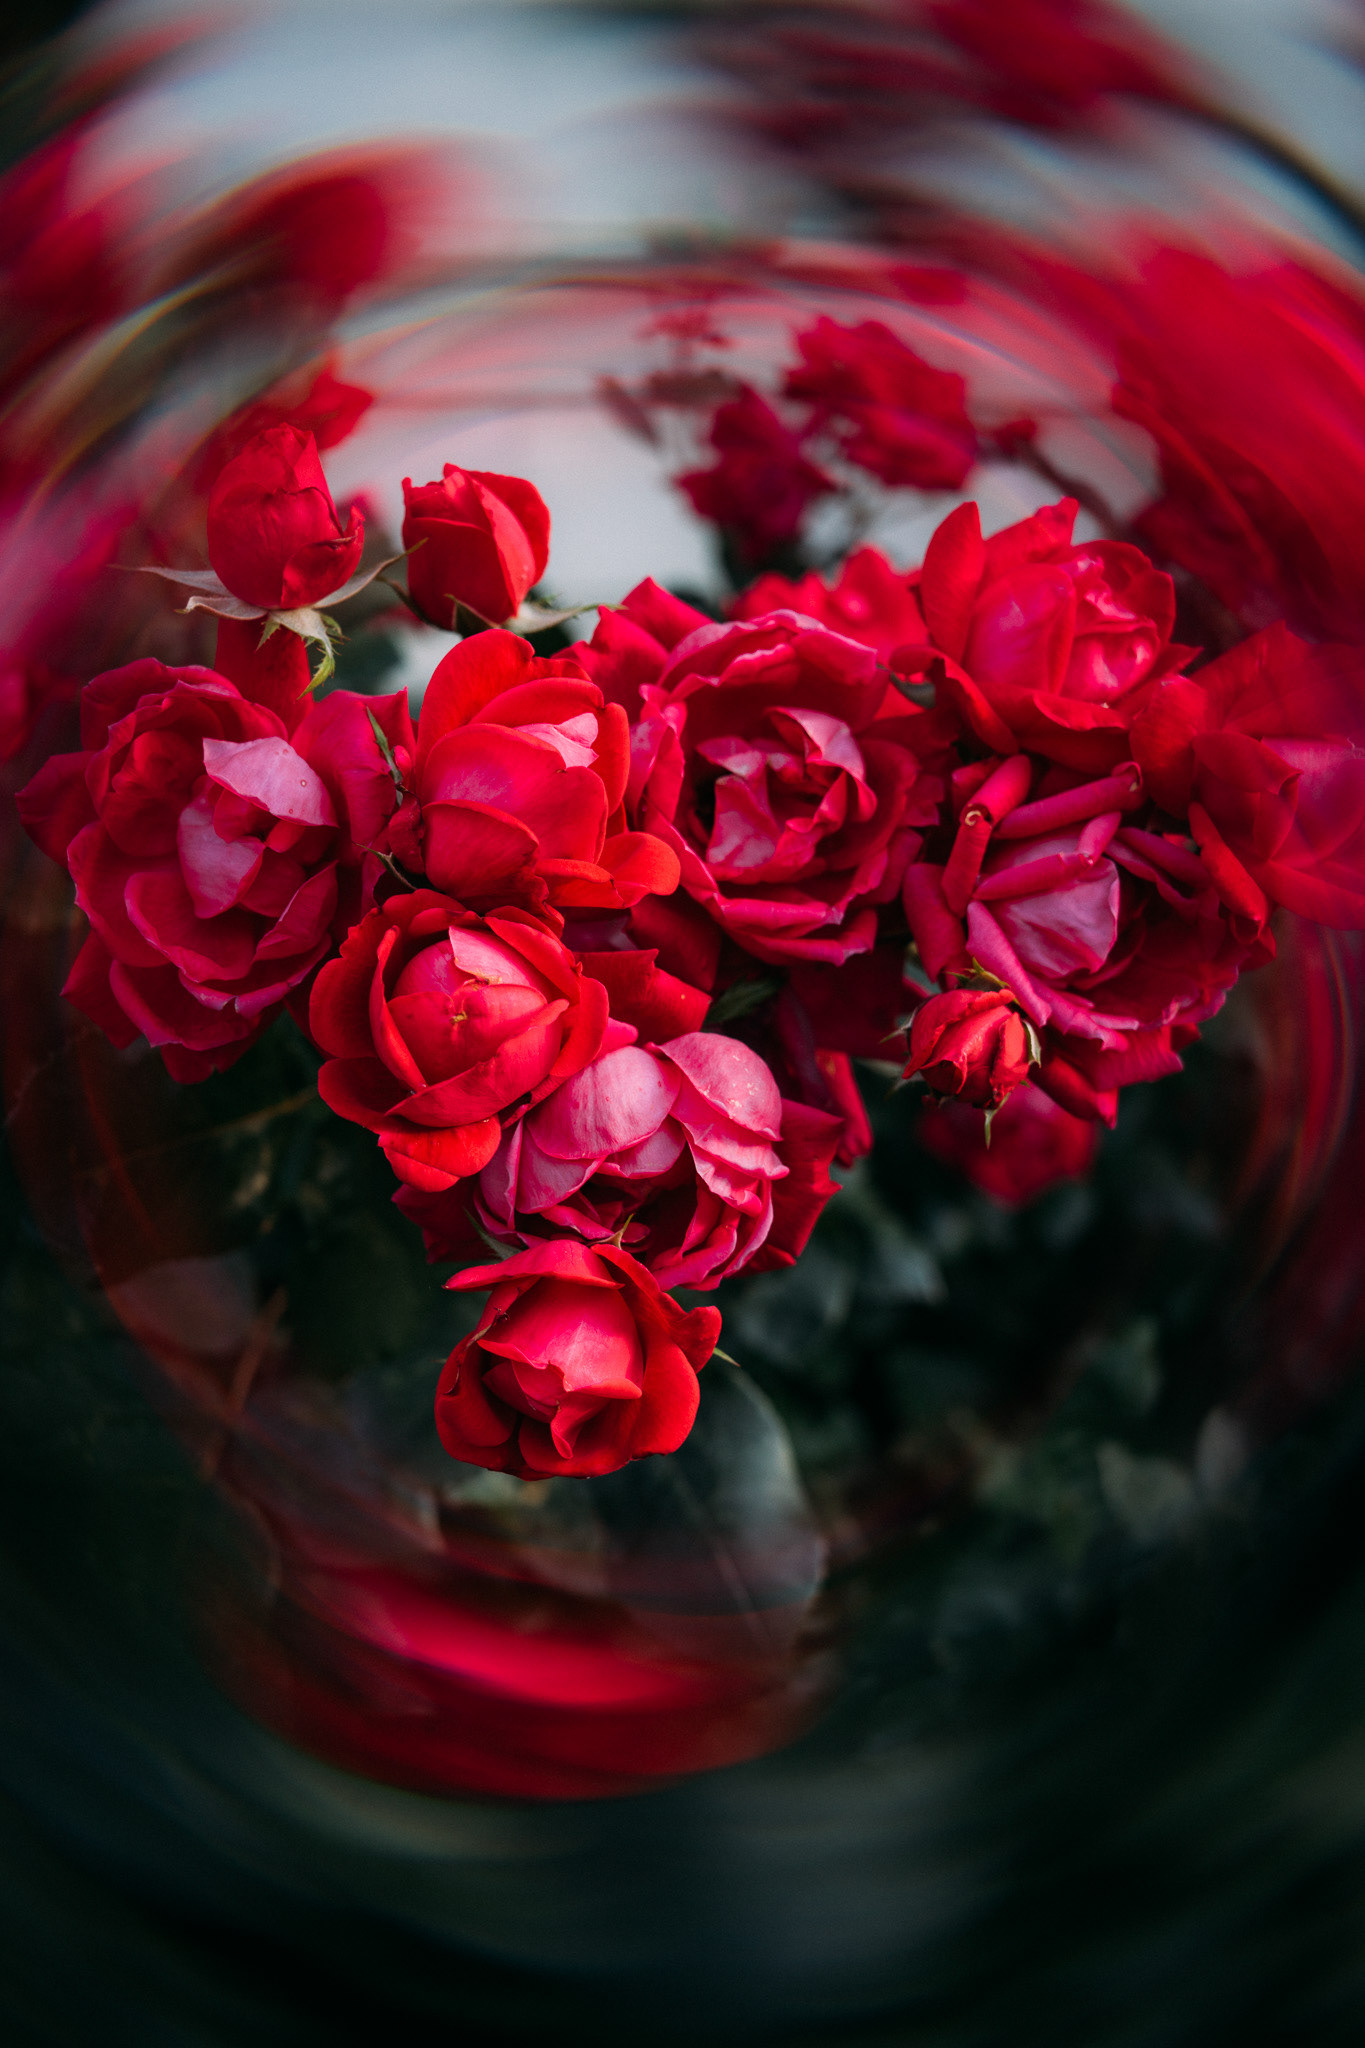
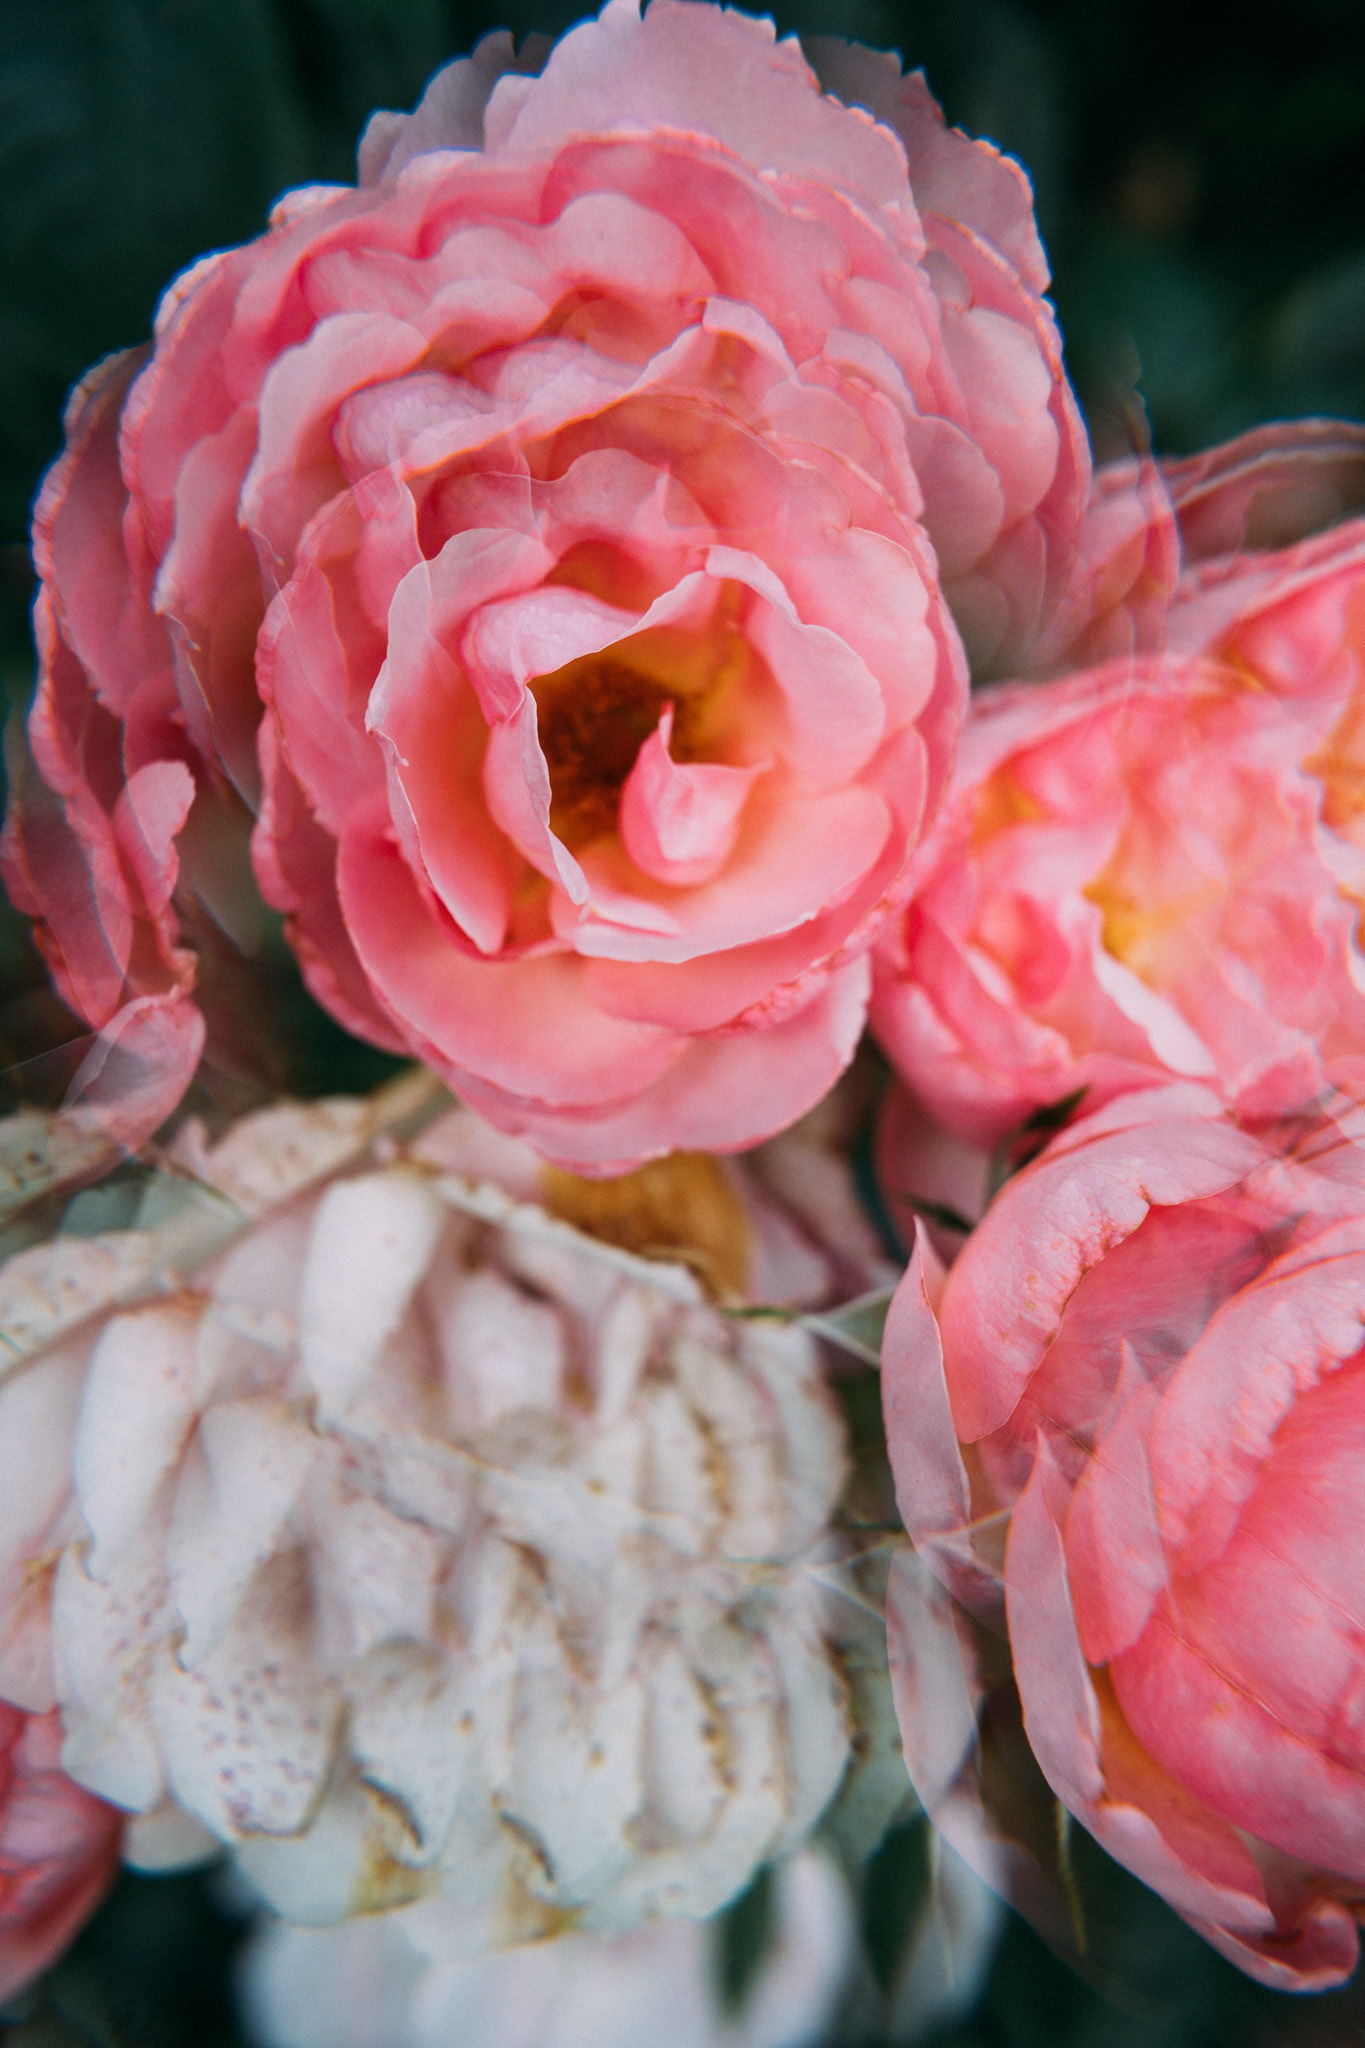
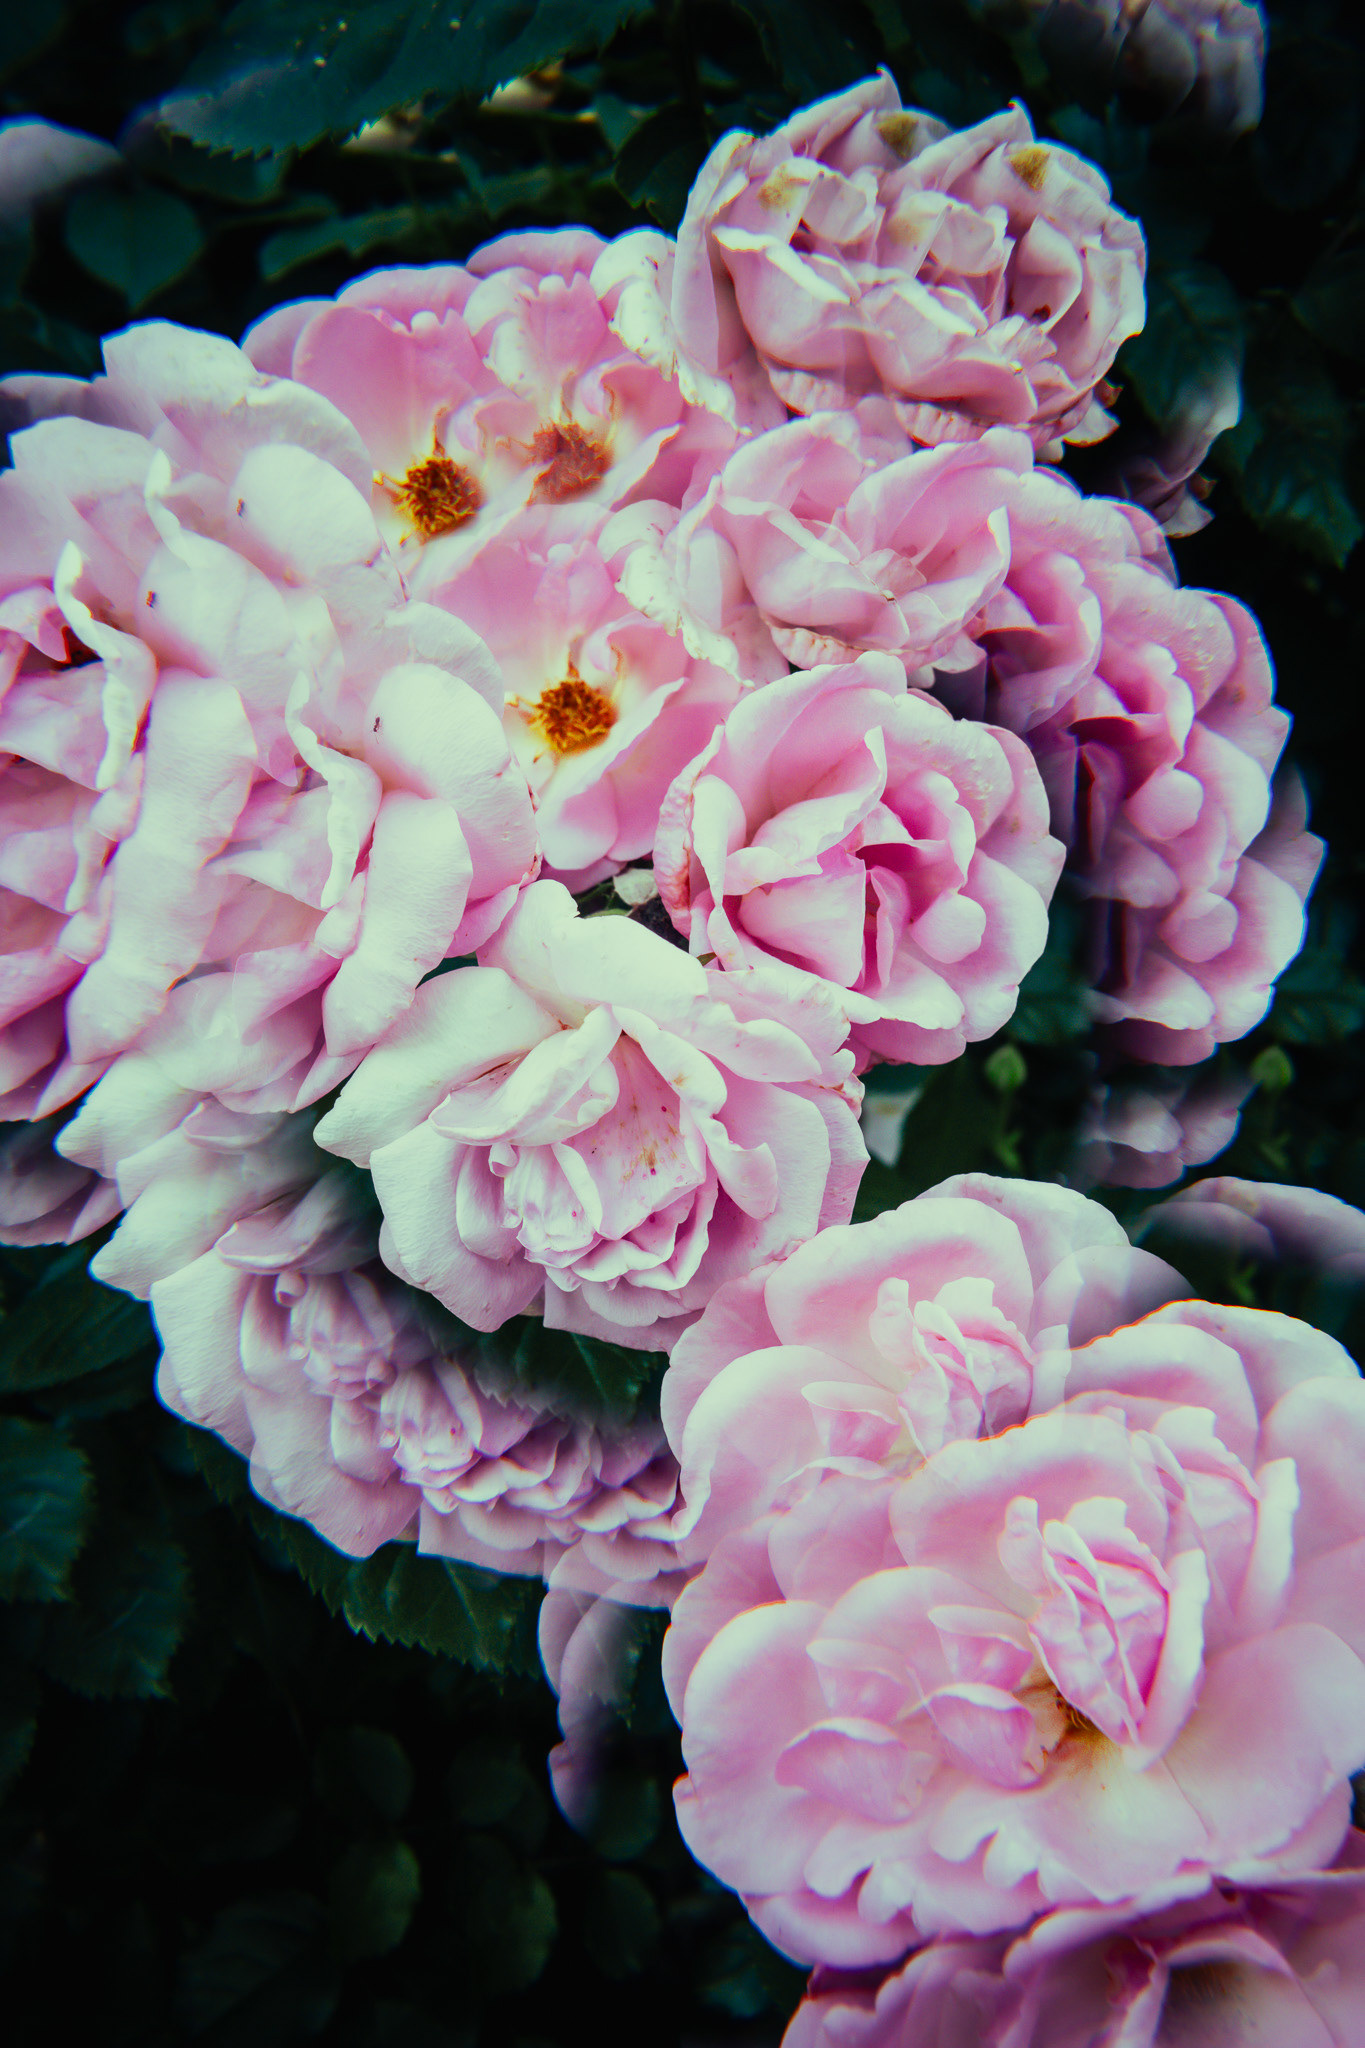
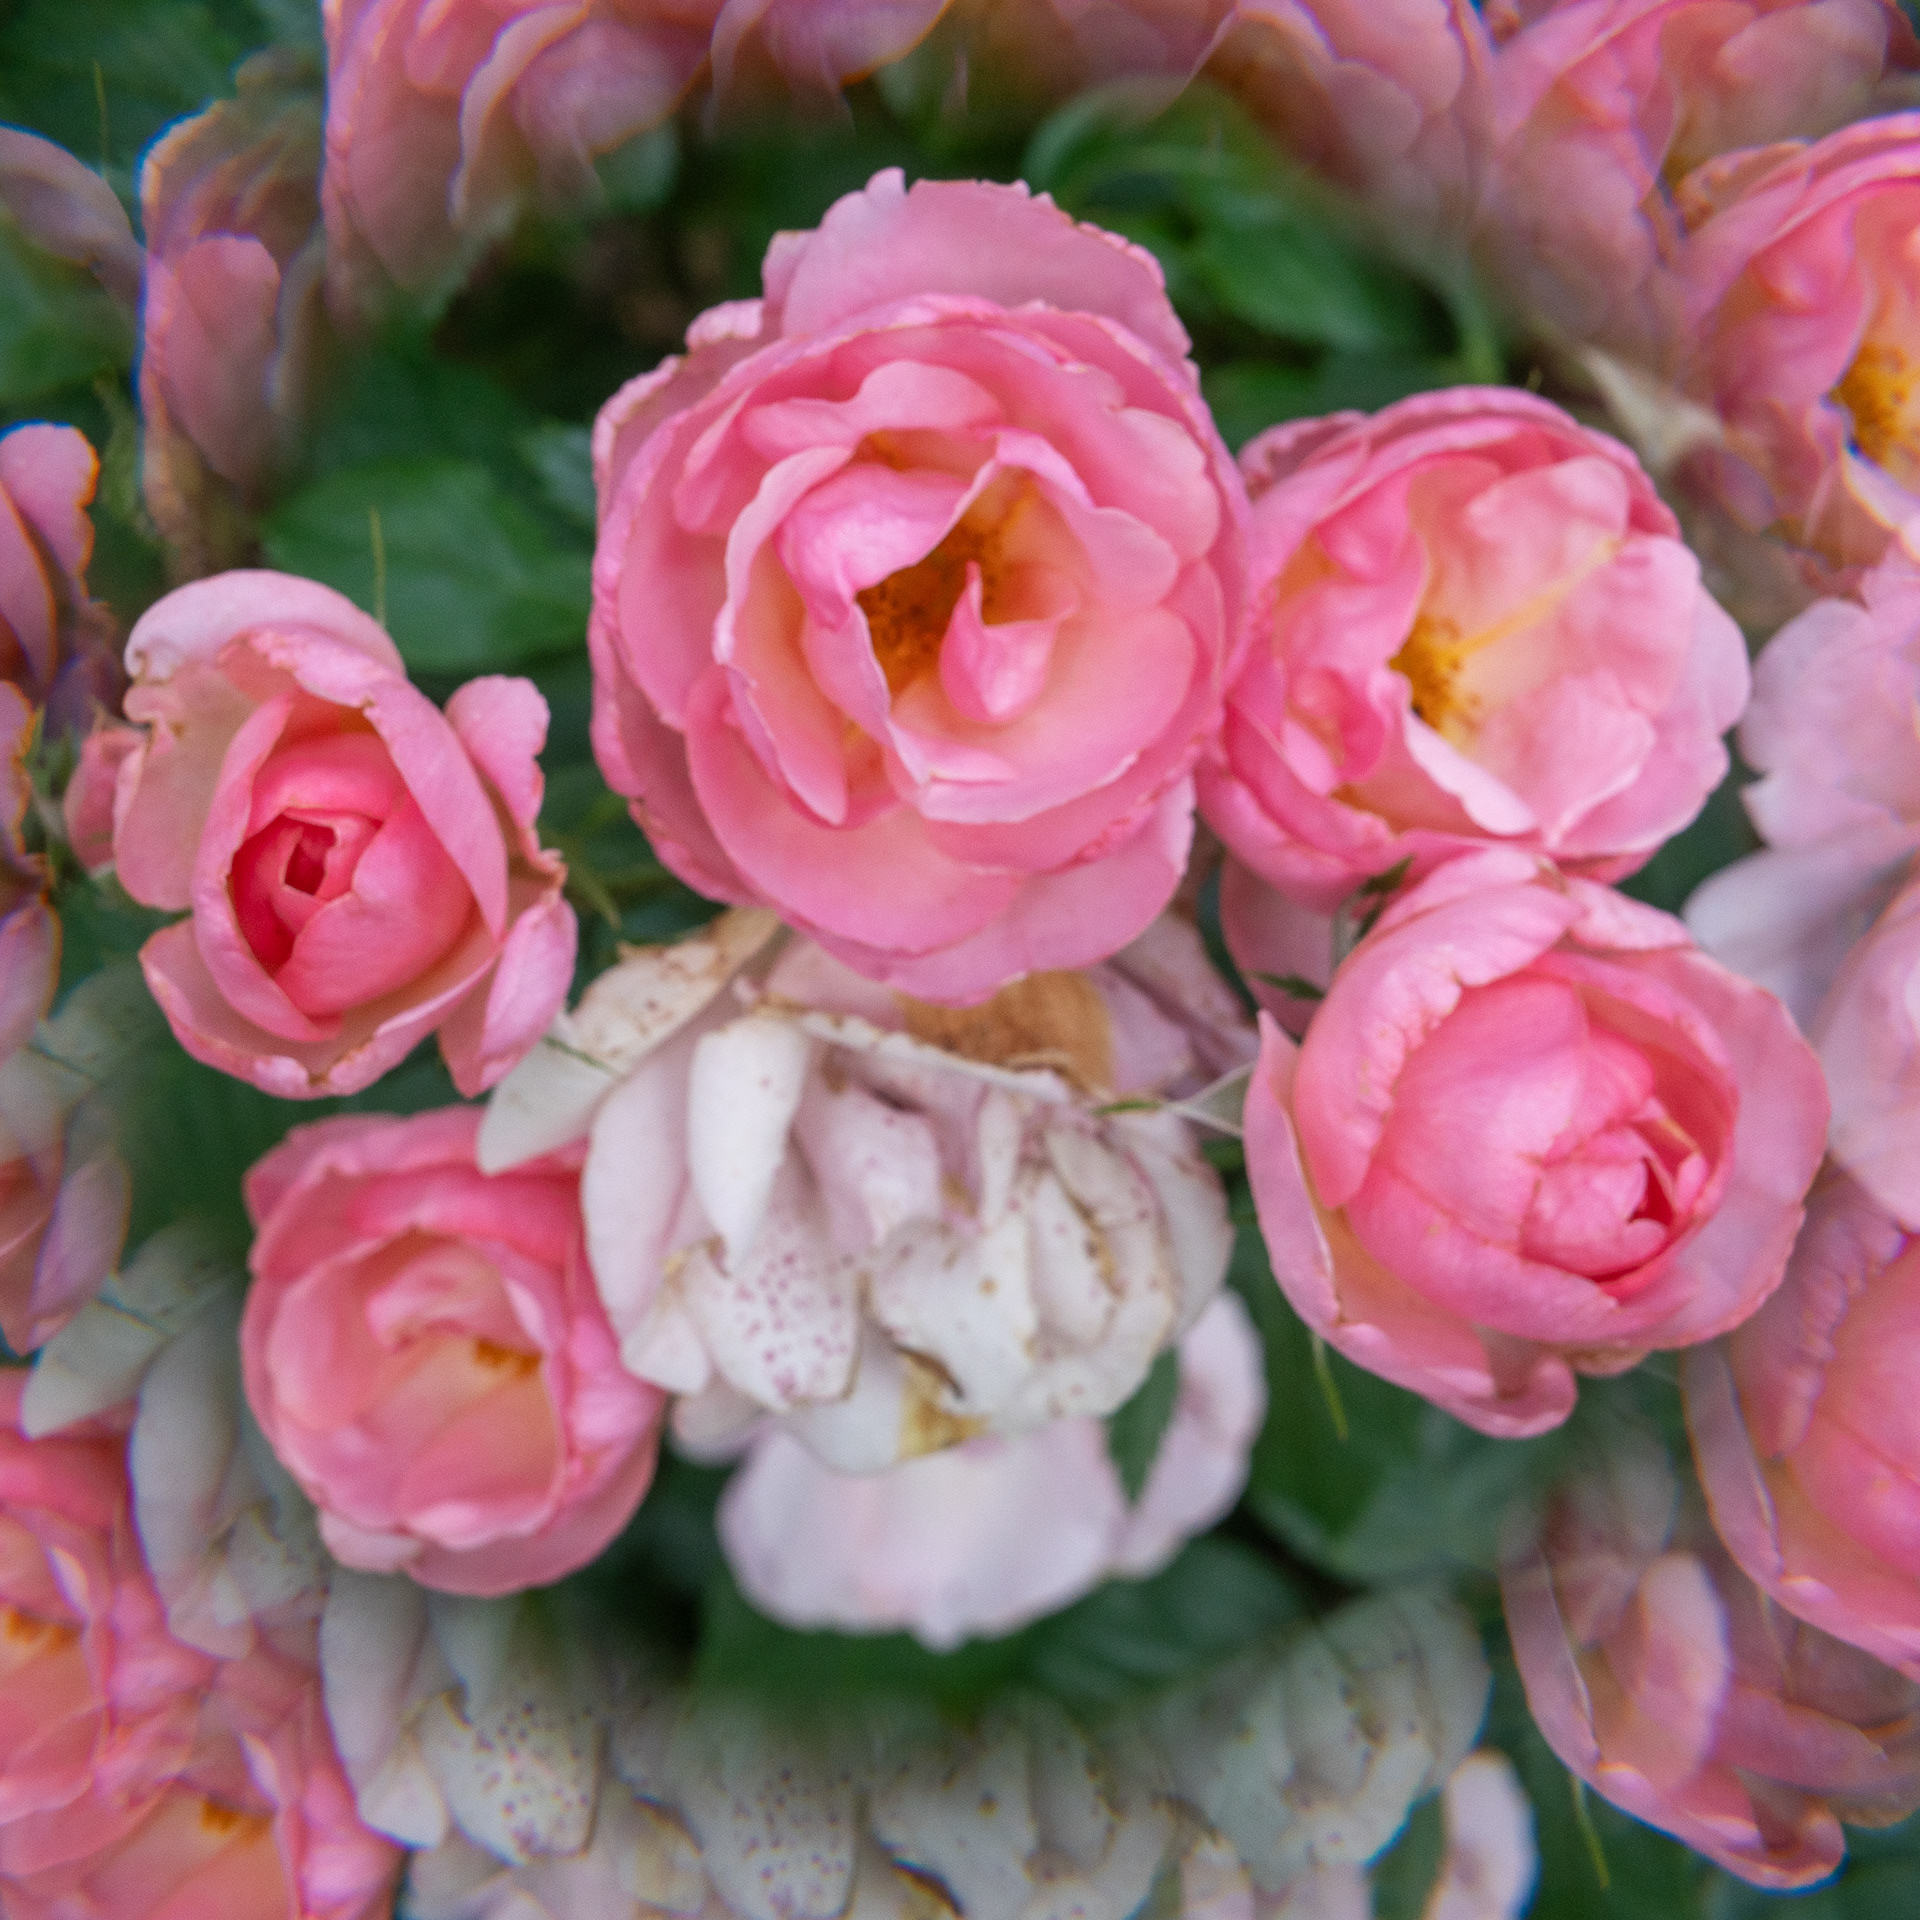
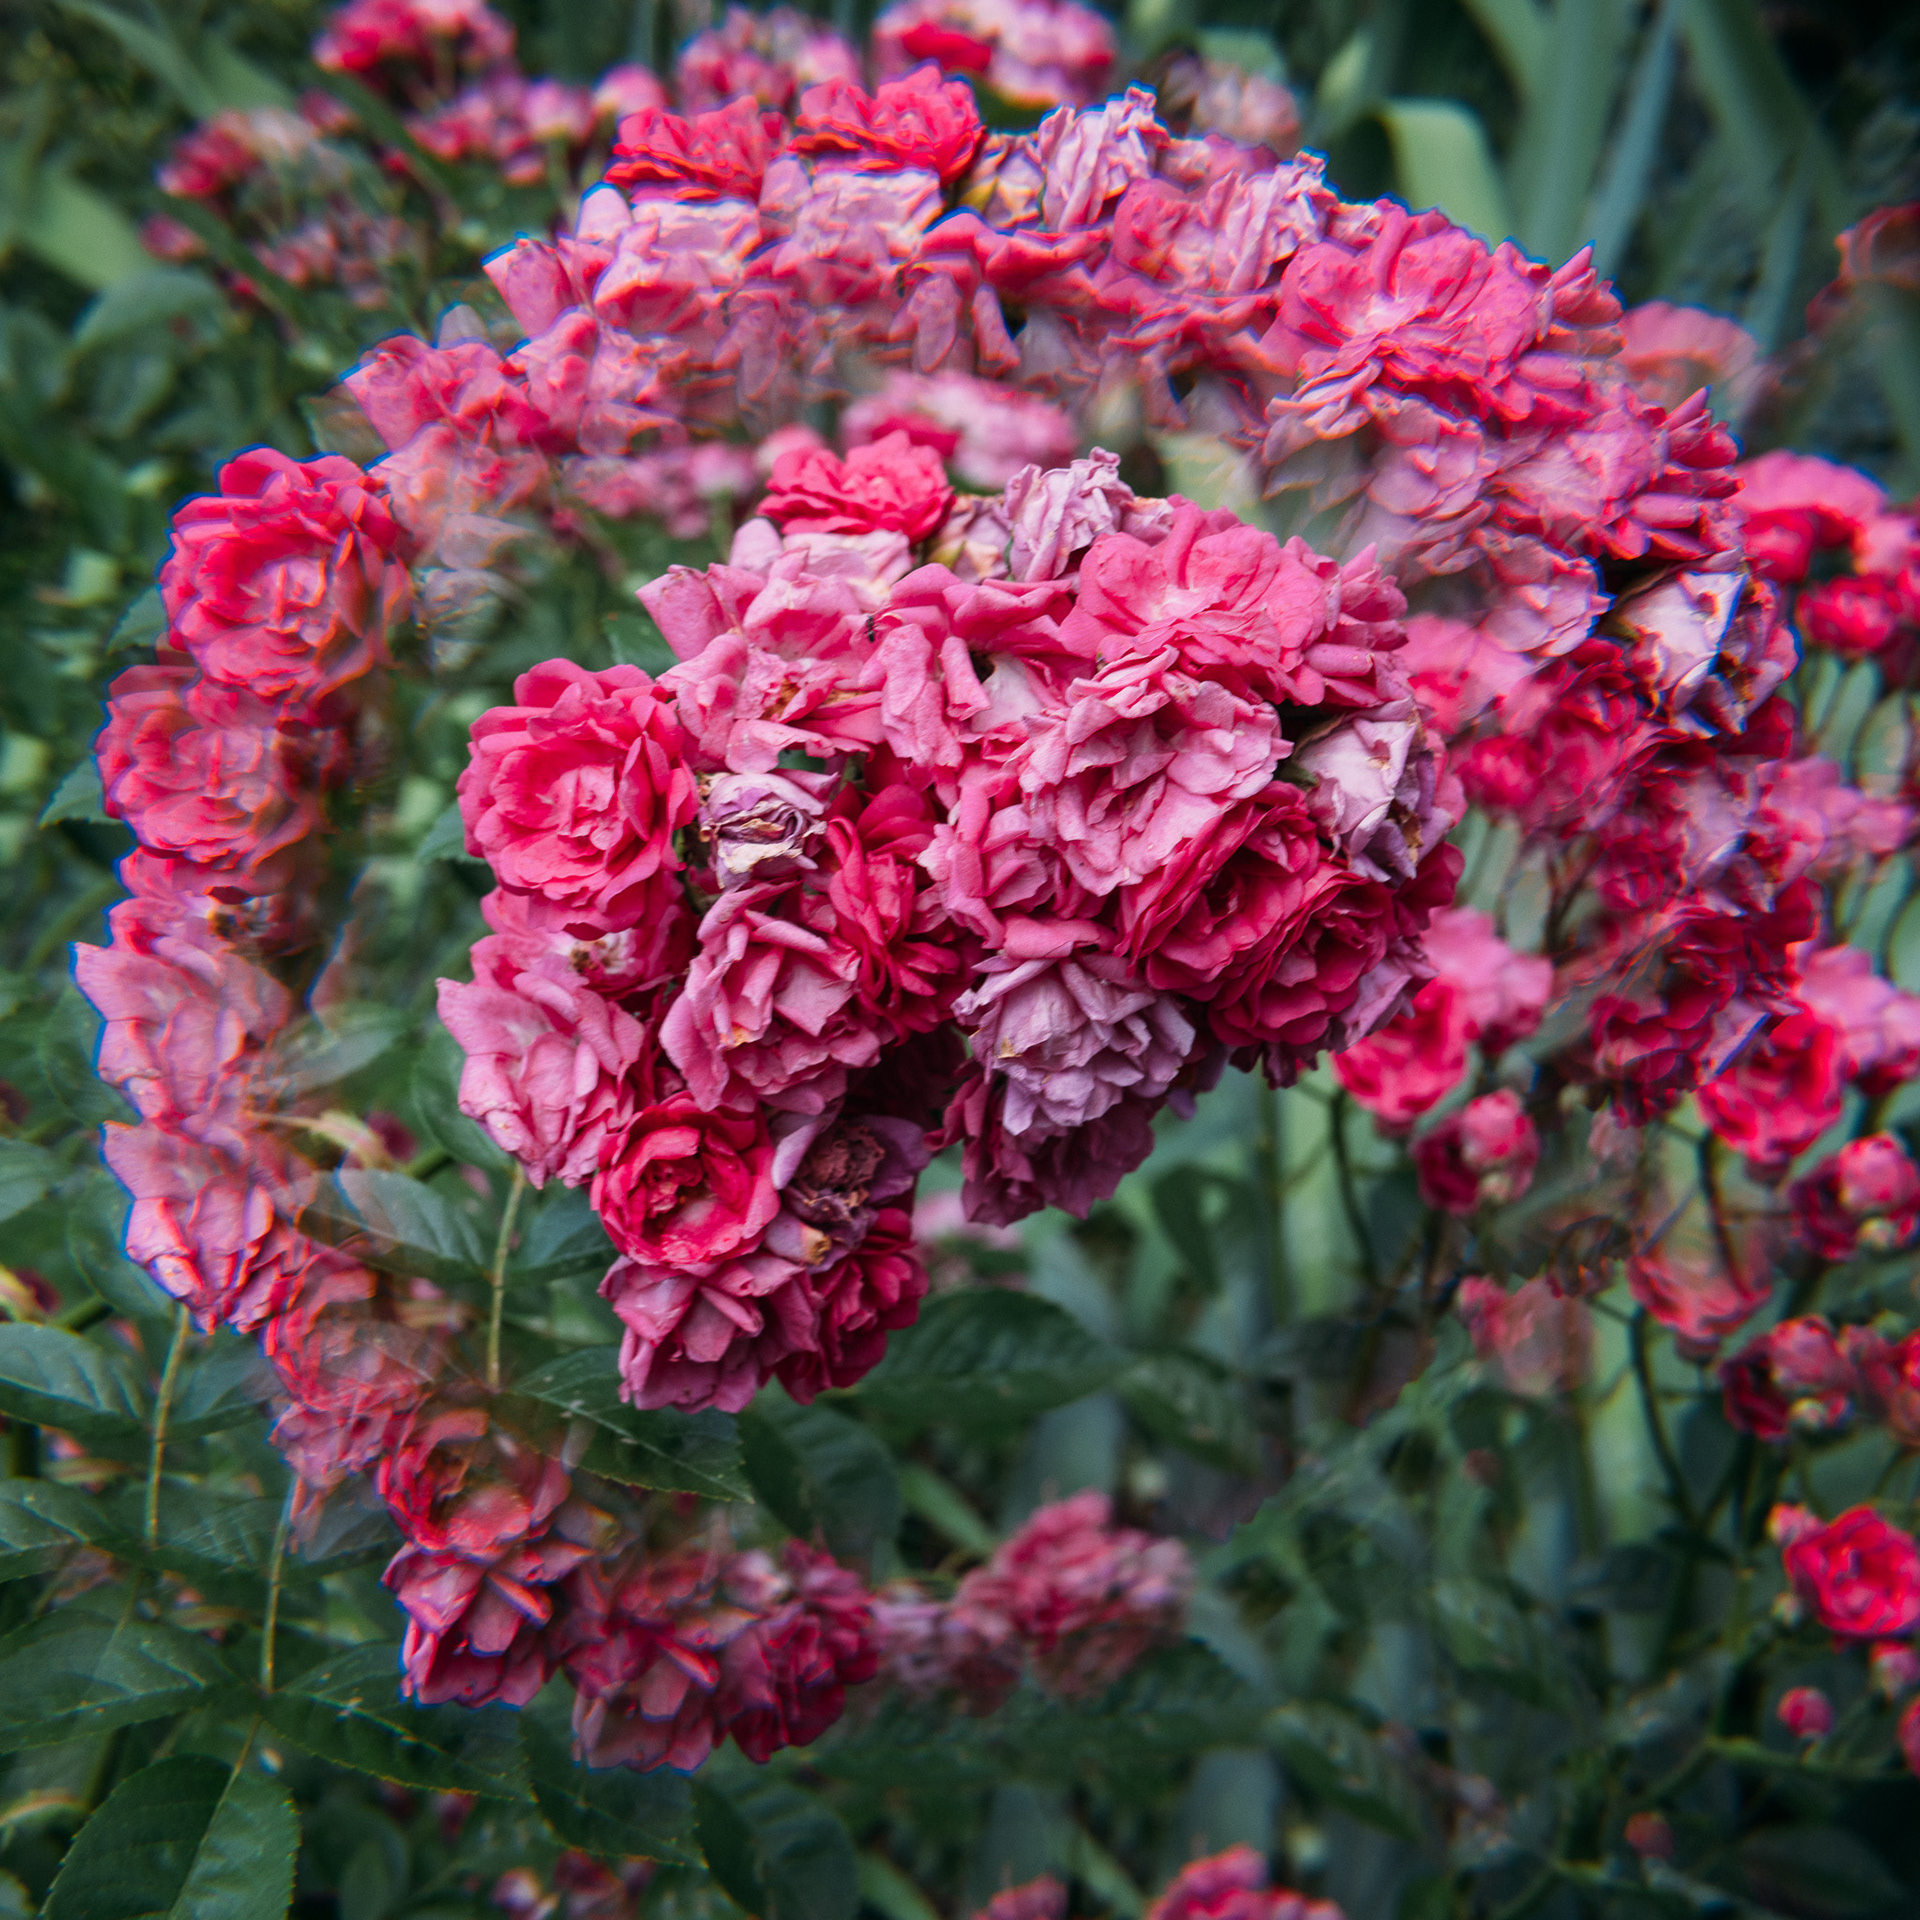
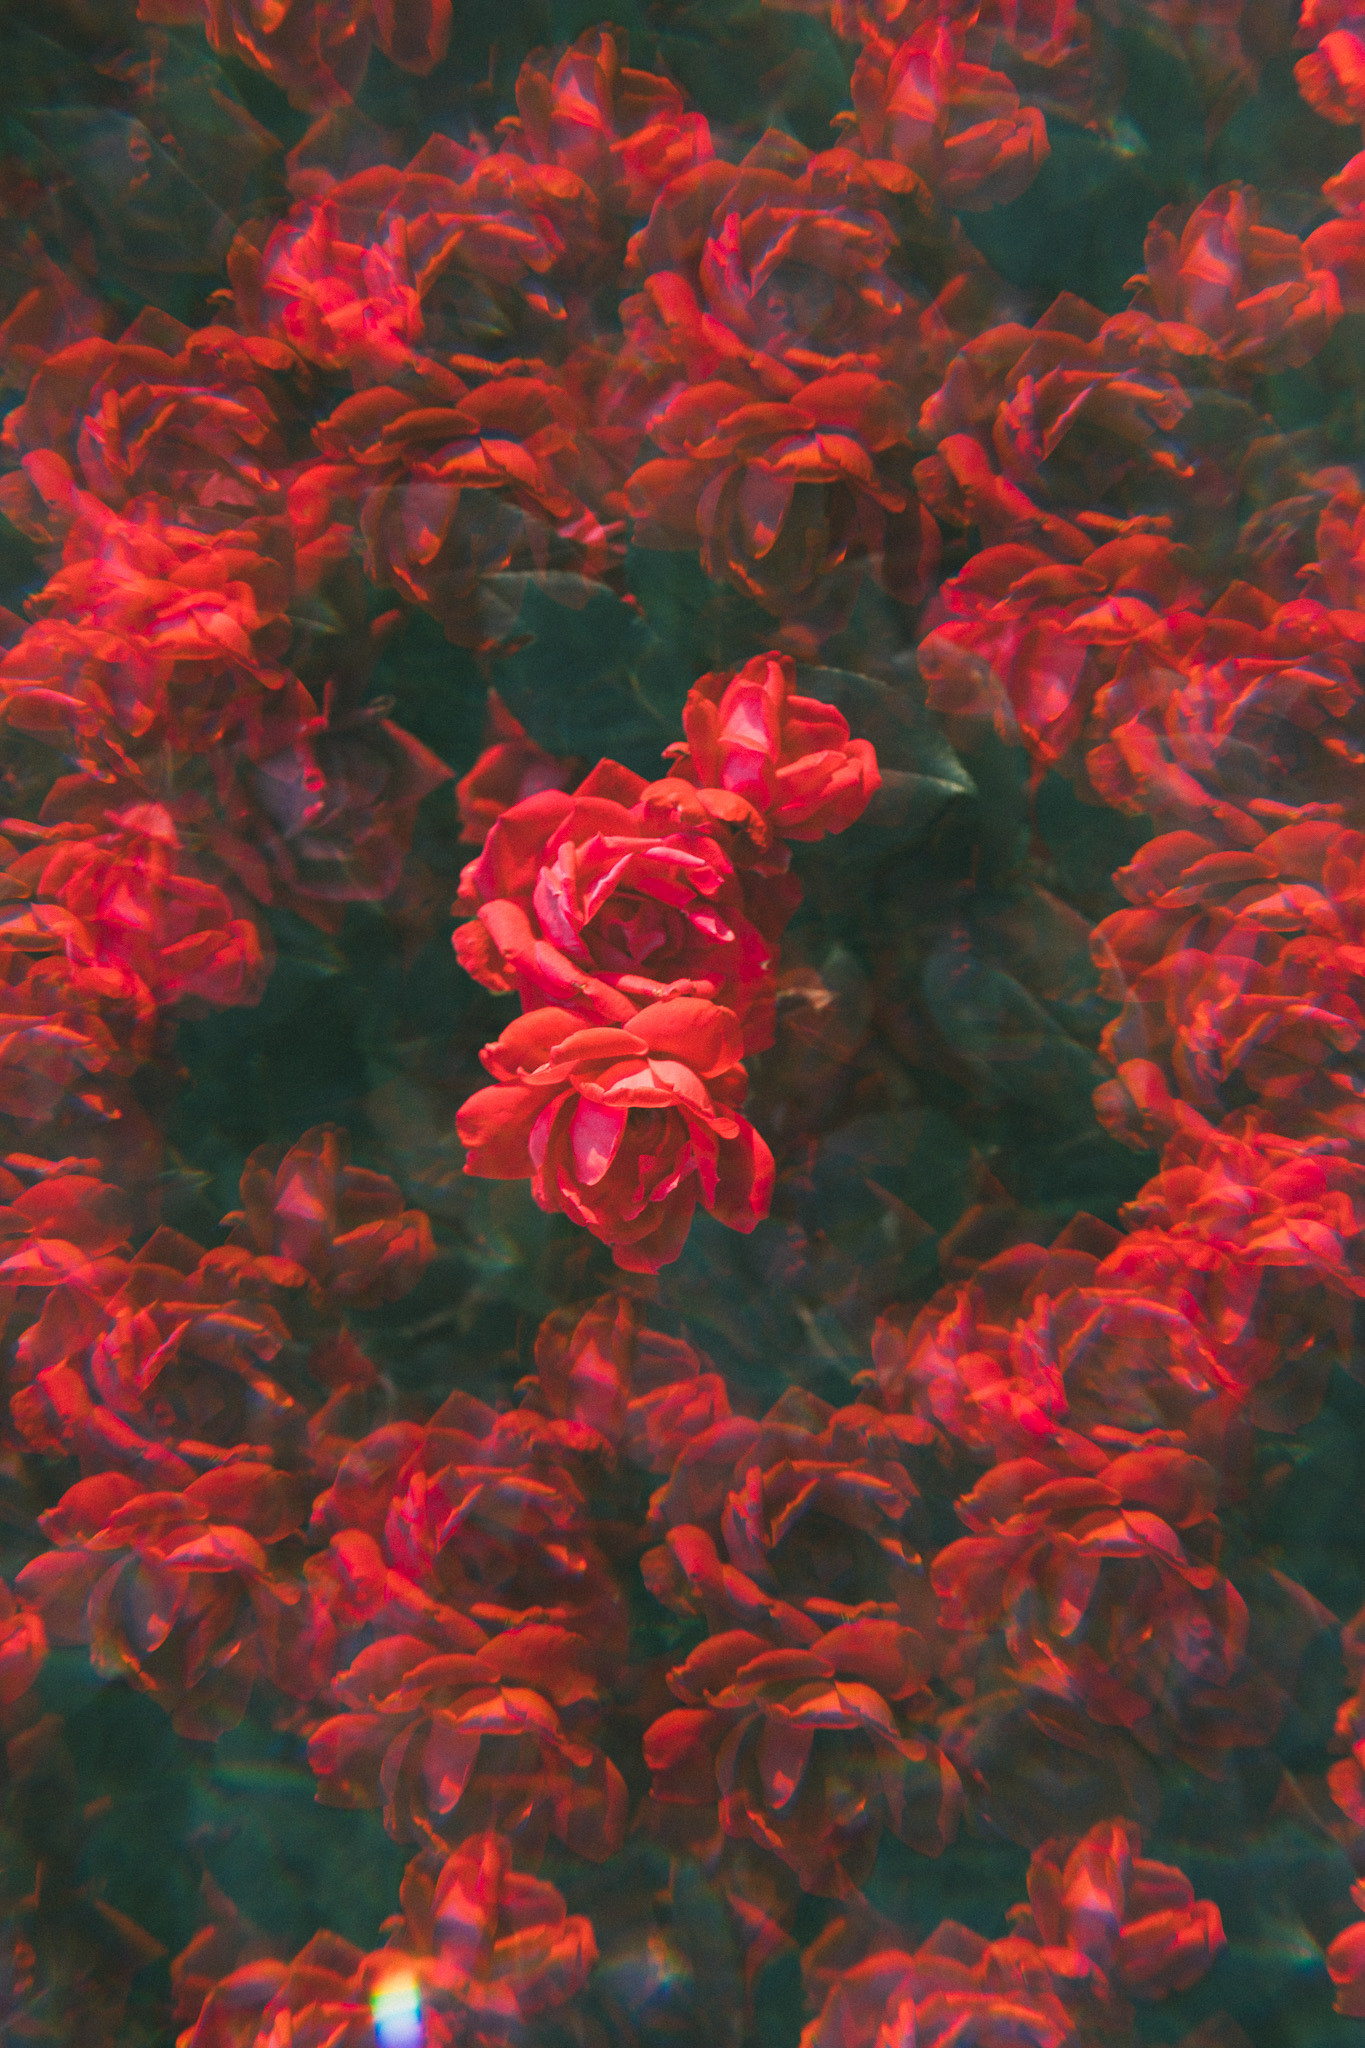
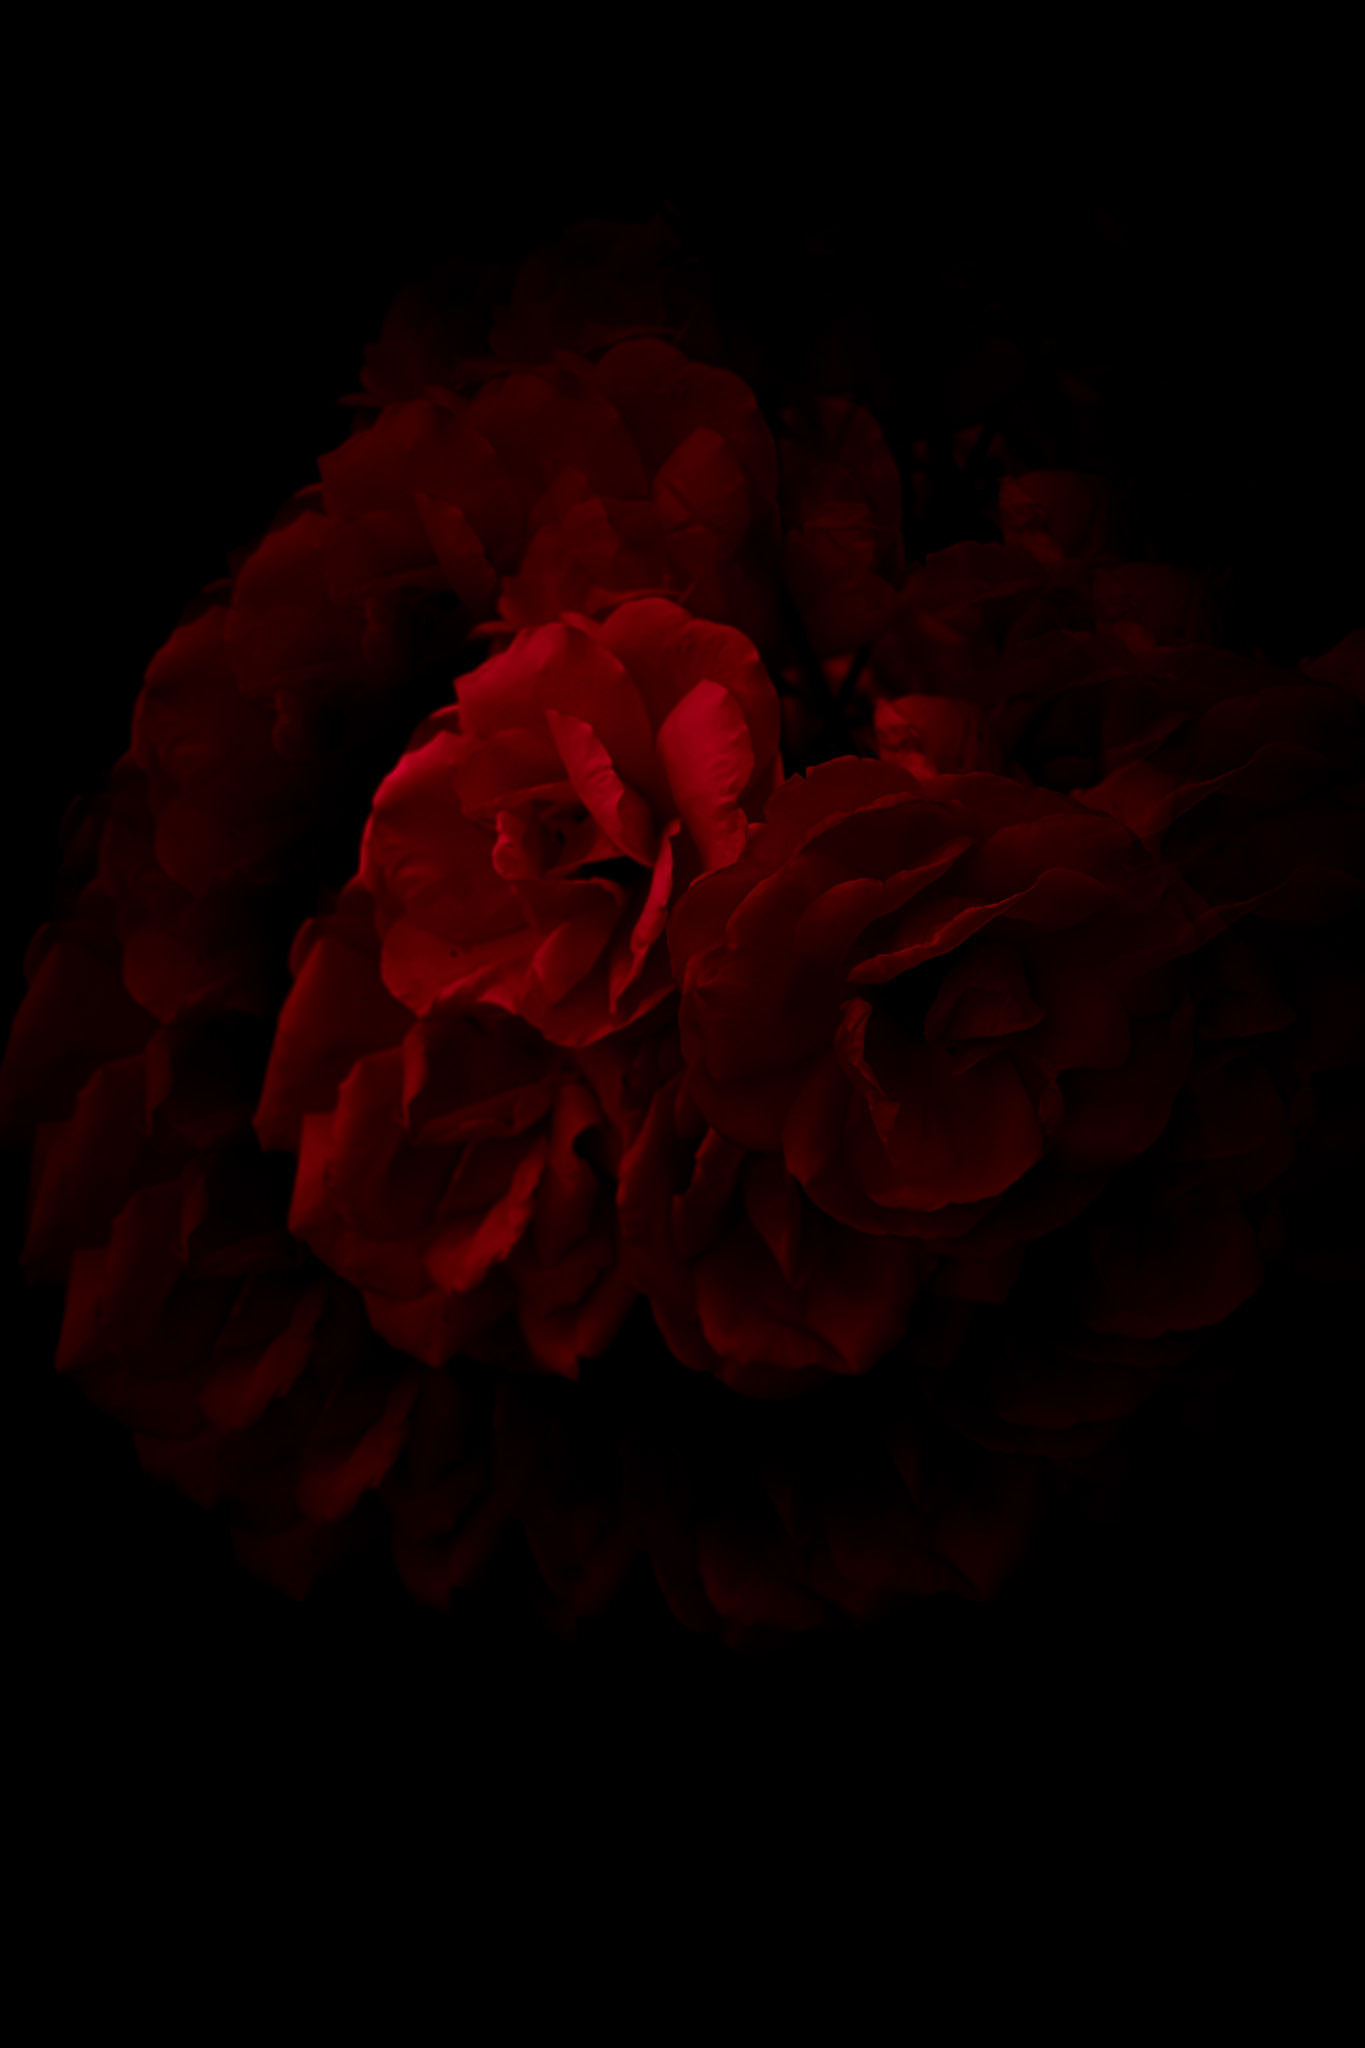
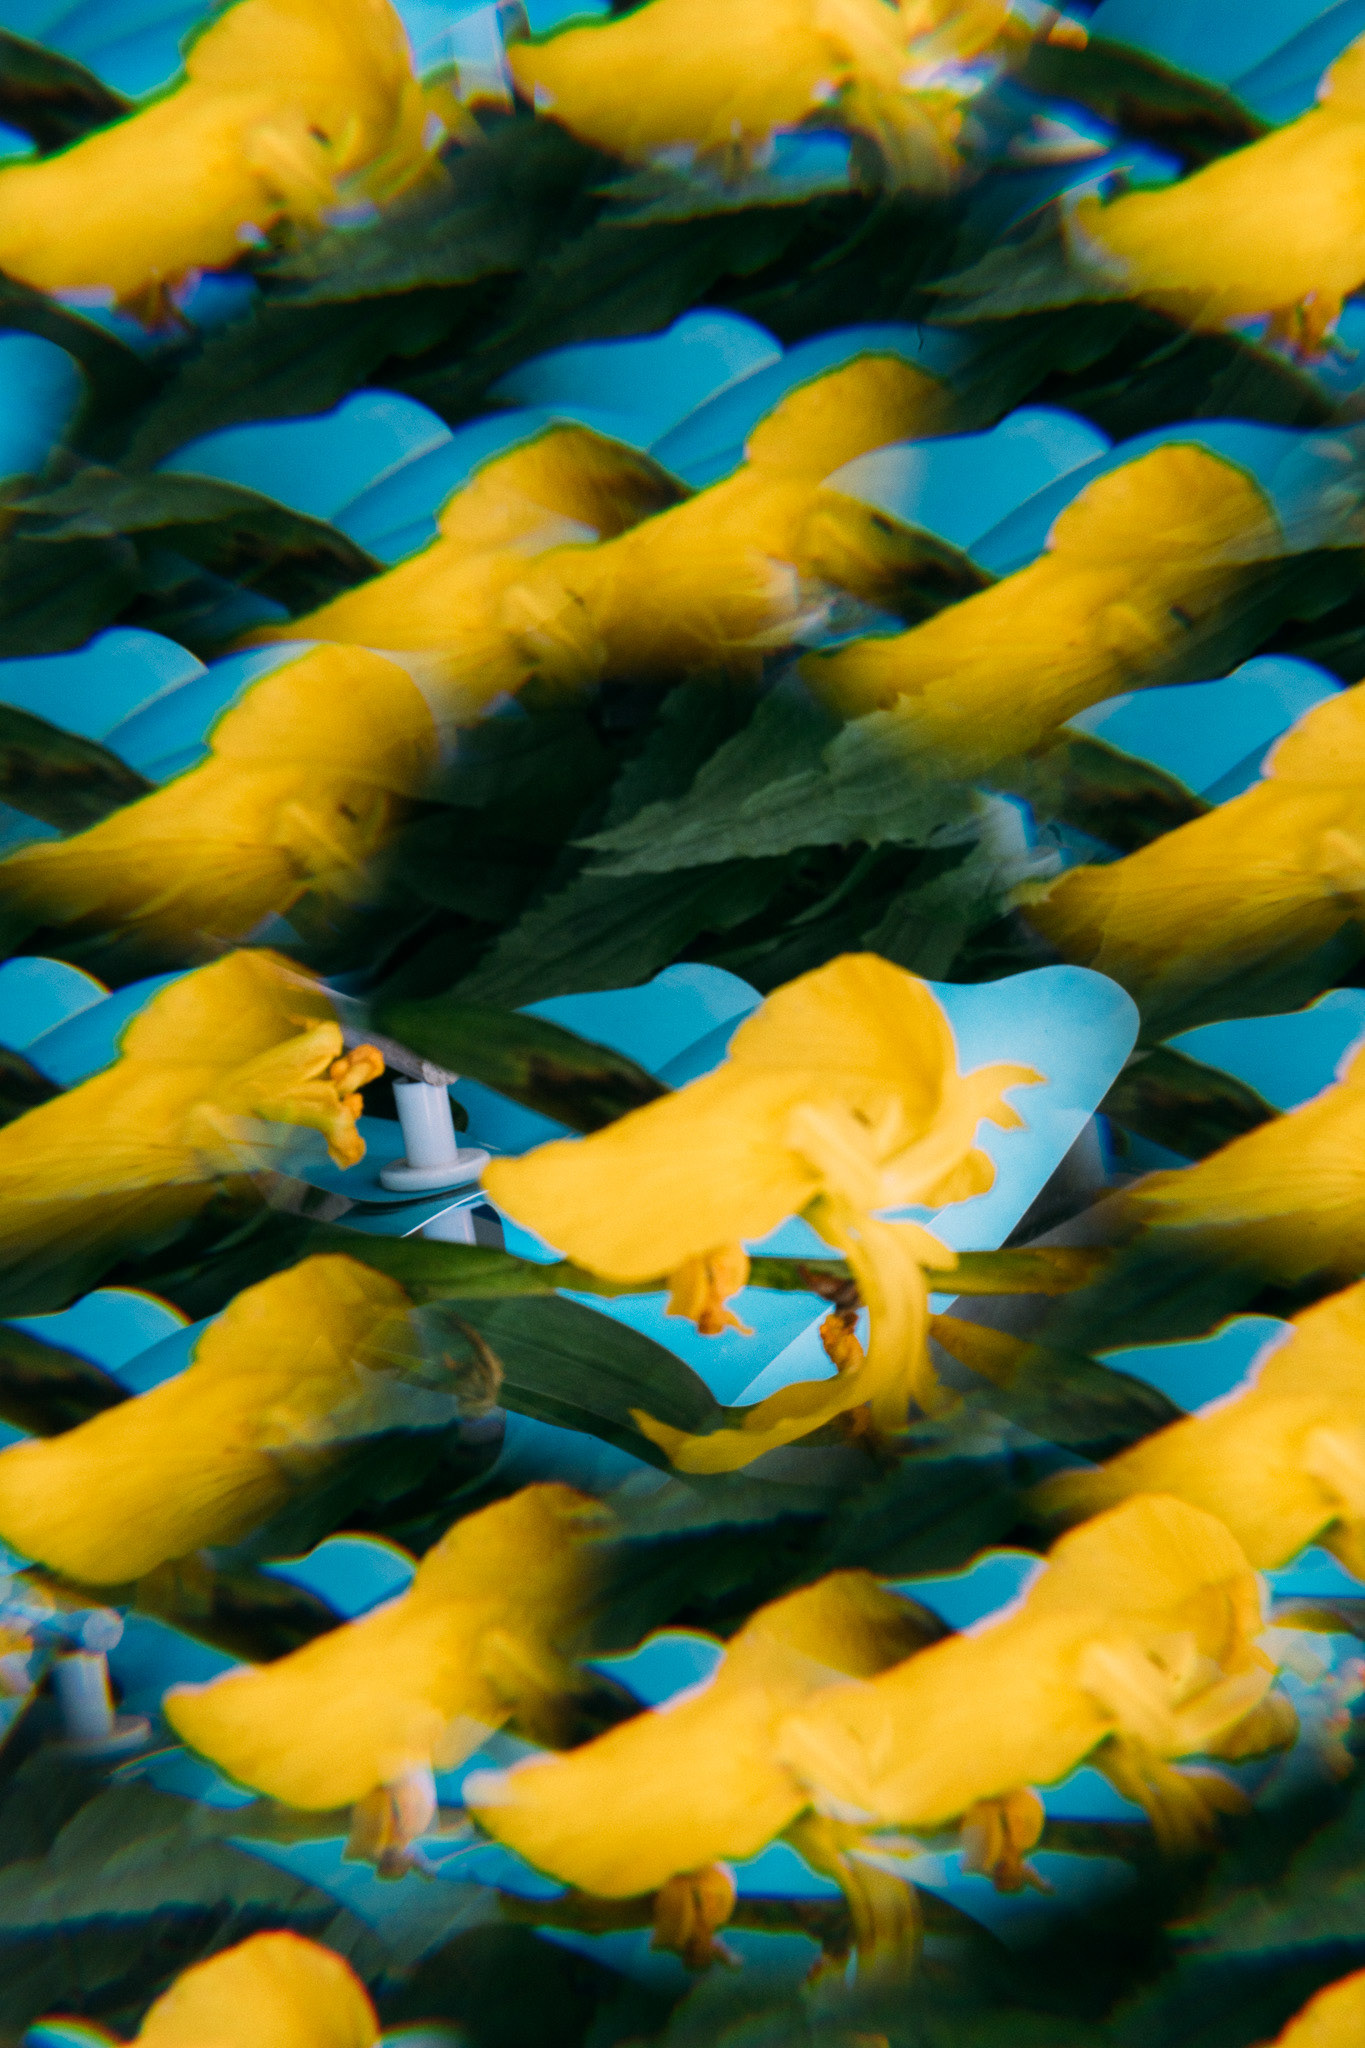
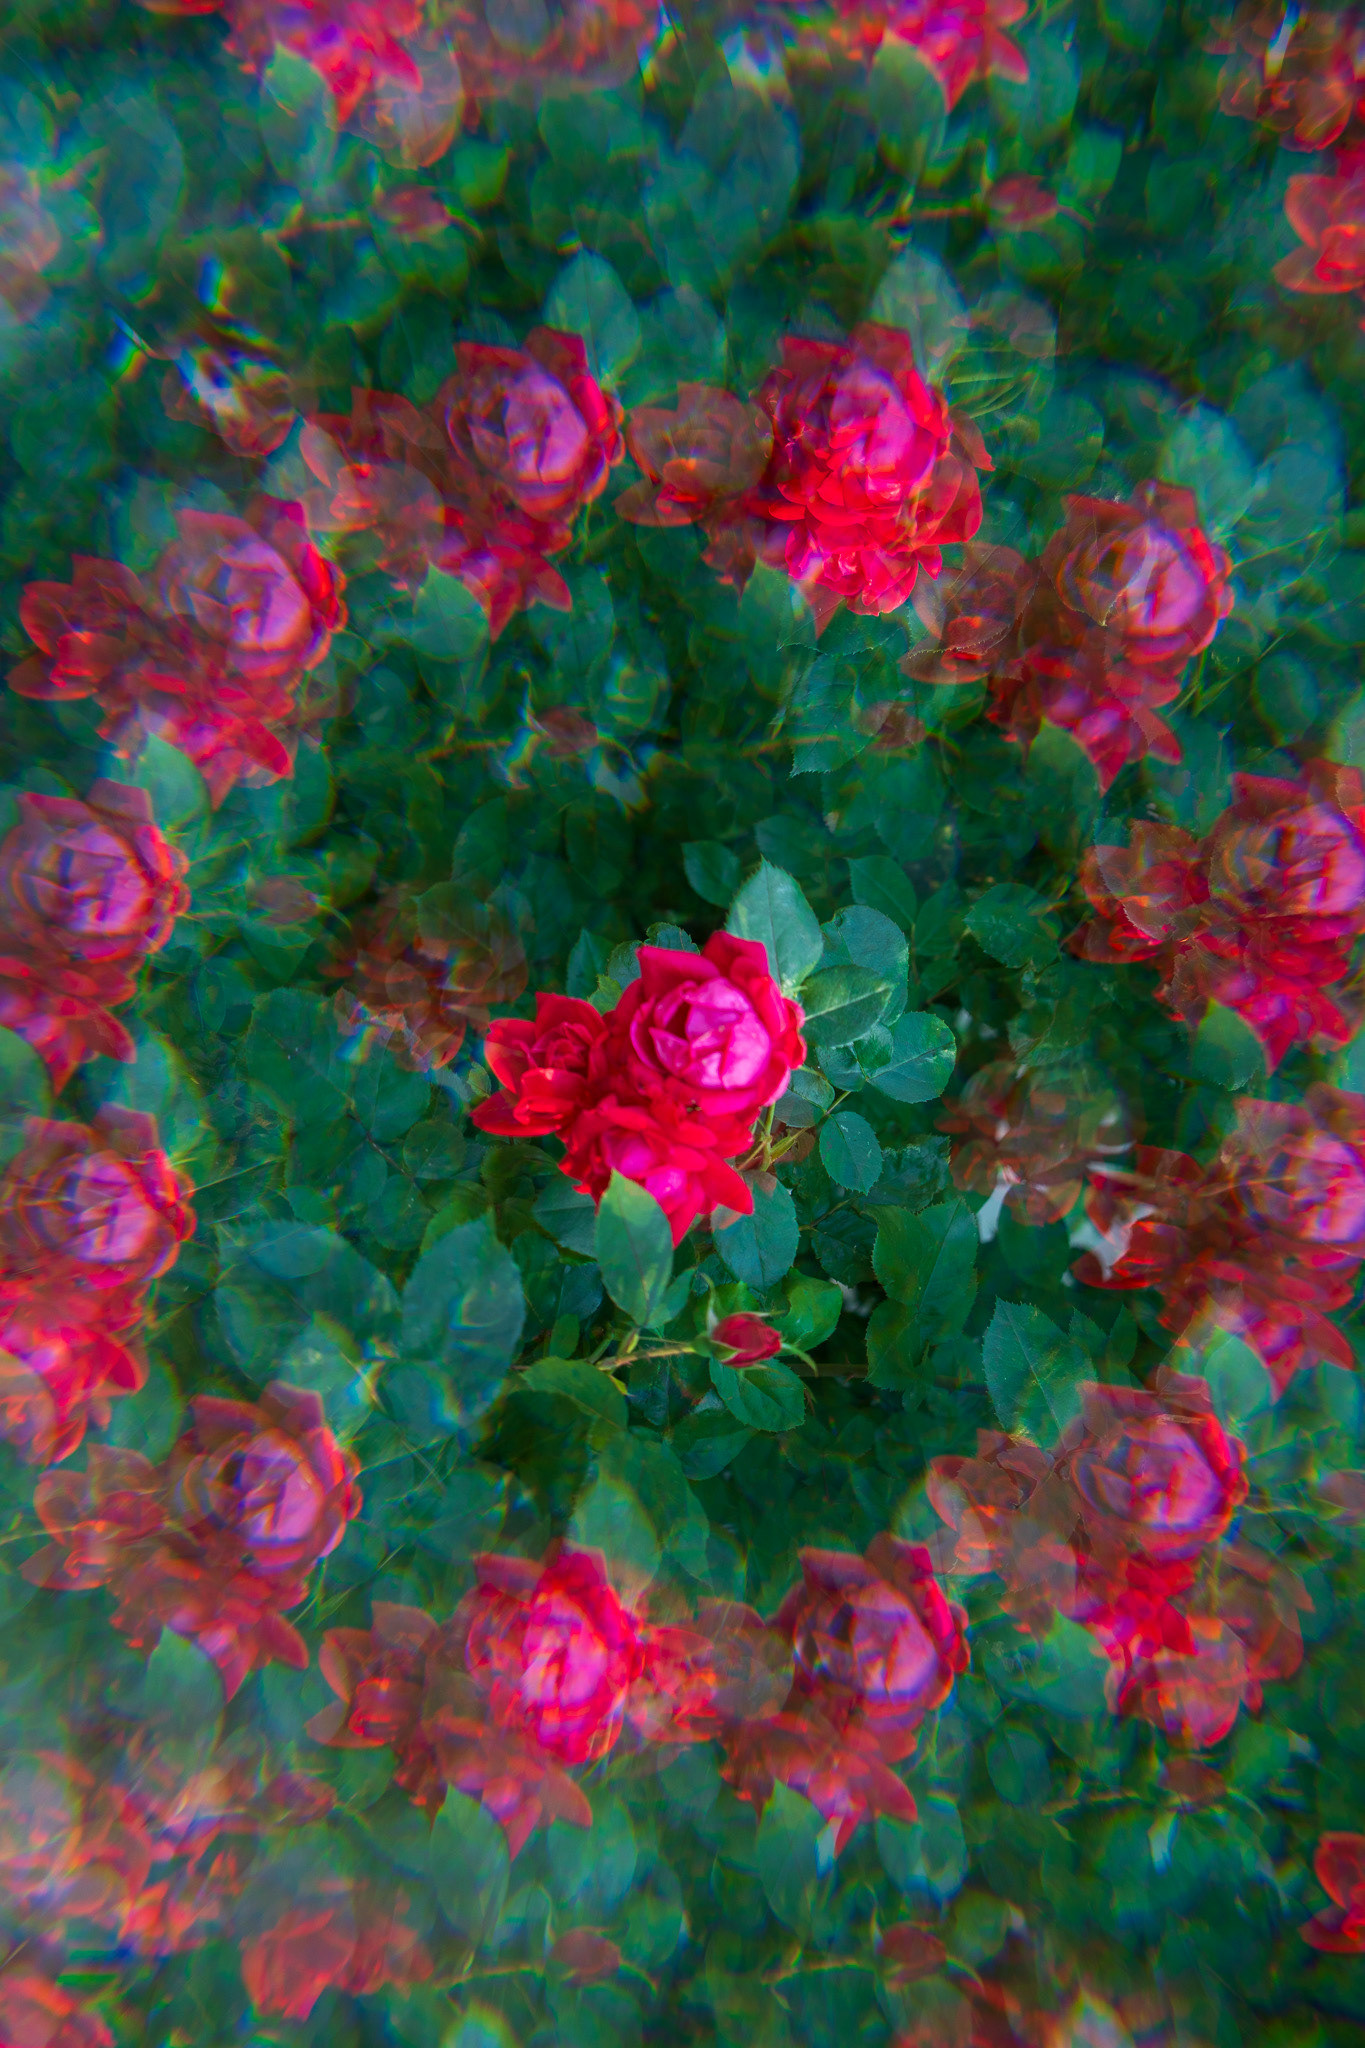
So, I recently picked up a prism filter on Amazon and decided to give it a quick spin in Adams Morgan (AdMo), DC. In about ten minutes, I managed to get some pretty cool shots. Here’s a rundown of my experience, what I learned about using different apertures, and why I think a prism filter is worth adding to your kit.
The Charm of Admo
Adams Morgan is one of those neighborhoods that always feels alive. It’s got a mix of colorful street art, quirky shops, and interesting architecture. I figured it would be the perfect place to test out my new prism filter.
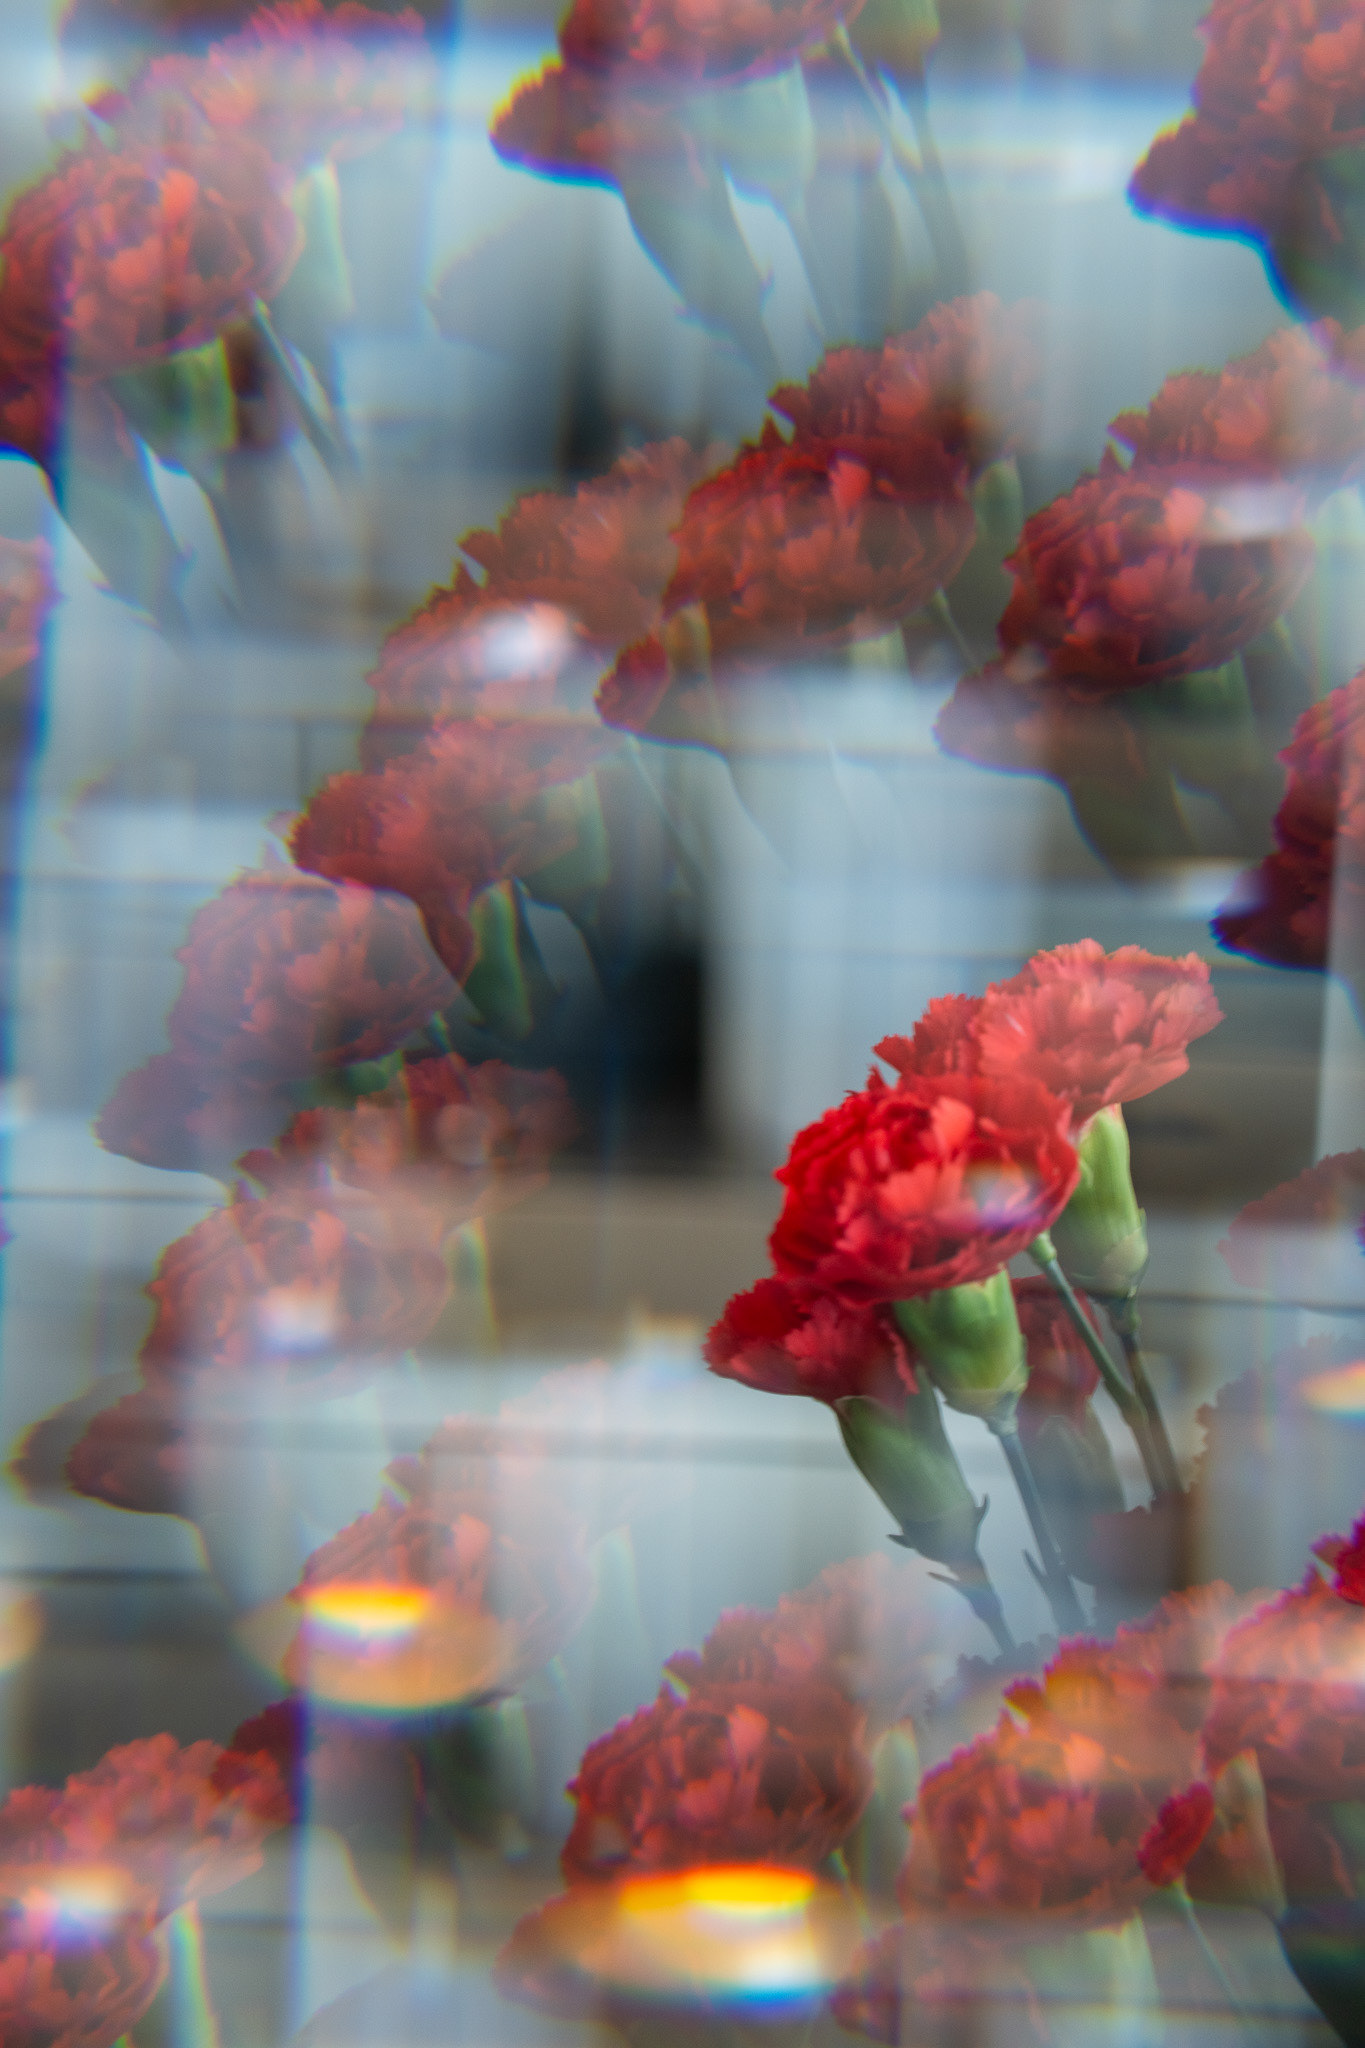
The prism filter bends light to create these trippy, kaleidoscopic effects. Depending on how you set your aperture, you can either get a soft, dreamy look or a sharp, detailed effect. I’m still figuring out all the nuances, but here’s what I’ve discovered so far:
Wide Open Aperture (f/1.8 - f/2.8): Shooting with the aperture wide open gives everything a dreamy, blurred quality. The light patterns from the prism filter blend smoothly, creating this soft, ethereal effect. It’s great for adding a surreal touch to your shots.
Closed Aperture (f/8 - f/16): When you close down the aperture, the effect becomes much more pronounced and focused. The light patterns are sharper and more defined, making them stand out against the background. This setting works well for emphasizing geometric shapes and details.
Here’s how my ten-minute shoot in AdMo went:
Street Art: With the aperture wide open, the vibrant murals and graffiti looked even more fluid and colorful. The prism filter added some interesting light patterns that made the art pop in unexpected ways.
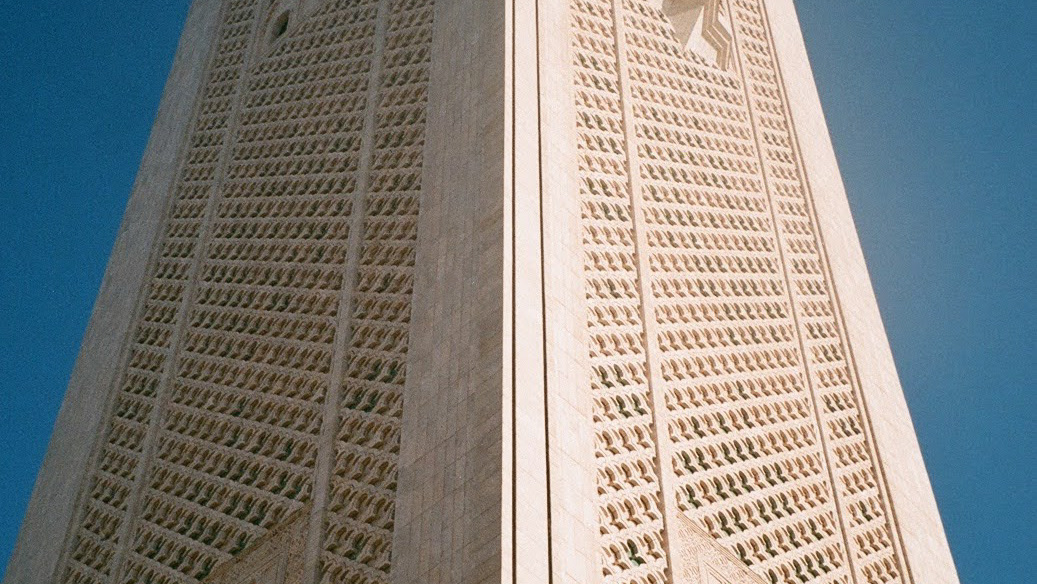
Architecture: When I switched to a closed aperture, I focused on the details of the buildings. The prism filter created these intricate, symmetrical patterns that highlighted the architecture beautifully.
Taking the Prism Filter to the National Mall
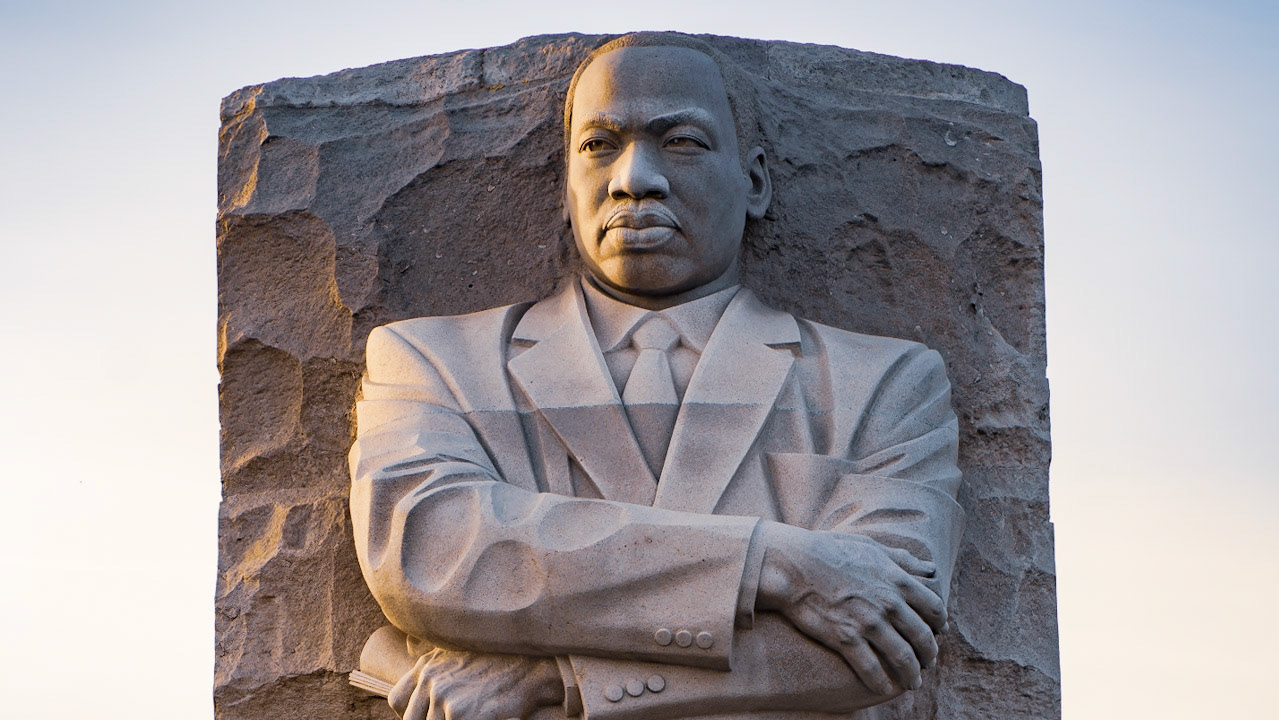
I’m planning to take the prism filter to the National Mall next. The monuments and open spaces there should provide some great opportunities to experiment. Here’s what I’m thinking:
Monuments: Using a closed aperture, I want to capture the geometric lines of the Washington Monument and the Lincoln Memorial. The prism filter should add some interesting abstract patterns to these iconic structures.
Reflections: With a wide open aperture, I’ll try to photograph the reflective surfaces of the ponds and fountains. I’m hoping the prism filter will enhance these reflections, giving them a dreamy, mirrored effect.
If you’re into photography and like experimenting with new techniques, a prism filter is definitely worth checking out. Here’s why:
Boost Creativity: It pushes you to think differently about composition and light. The effects are always unique, and you never know exactly what you’ll get, which is part of the fun.
Versatility: It works with all sorts of photography—portraits, landscapes, street shots, you name it. The prism filter can add something special to almost any scene.
Affordable: Prism filters aren’t too pricey. You can find good ones on Amazon for a reasonable price, making them a great addition to your gear without breaking the bank.
My quick shoot in AdMo with the prism filter was a lot of fun and really opened my eyes to its potential. The way aperture settings influence the kaleidoscope effect is something I’m excited to keep exploring, especially at the National Mall. If you love photography and enjoy trying new things, definitely give a prism filter a shot. It’s an easy and affordable way to add some magic to your photos.
Stay tuned for more updates on my adventures with the prism filter. In the meantime, grab one for yourself and start experimenting. You’ll be surprised at the creative possibilities it opens up. Happy shooting!
